How to set up your online booking page
Create and share your booking page, then choose who can book and how it looks.
Updated 16 November 2026
Part 1 Create and share your page
Step 1 Create your booking page
Click Online booking in the menu, then Create your booking page. With no services yet, clients can only send you enquiries.
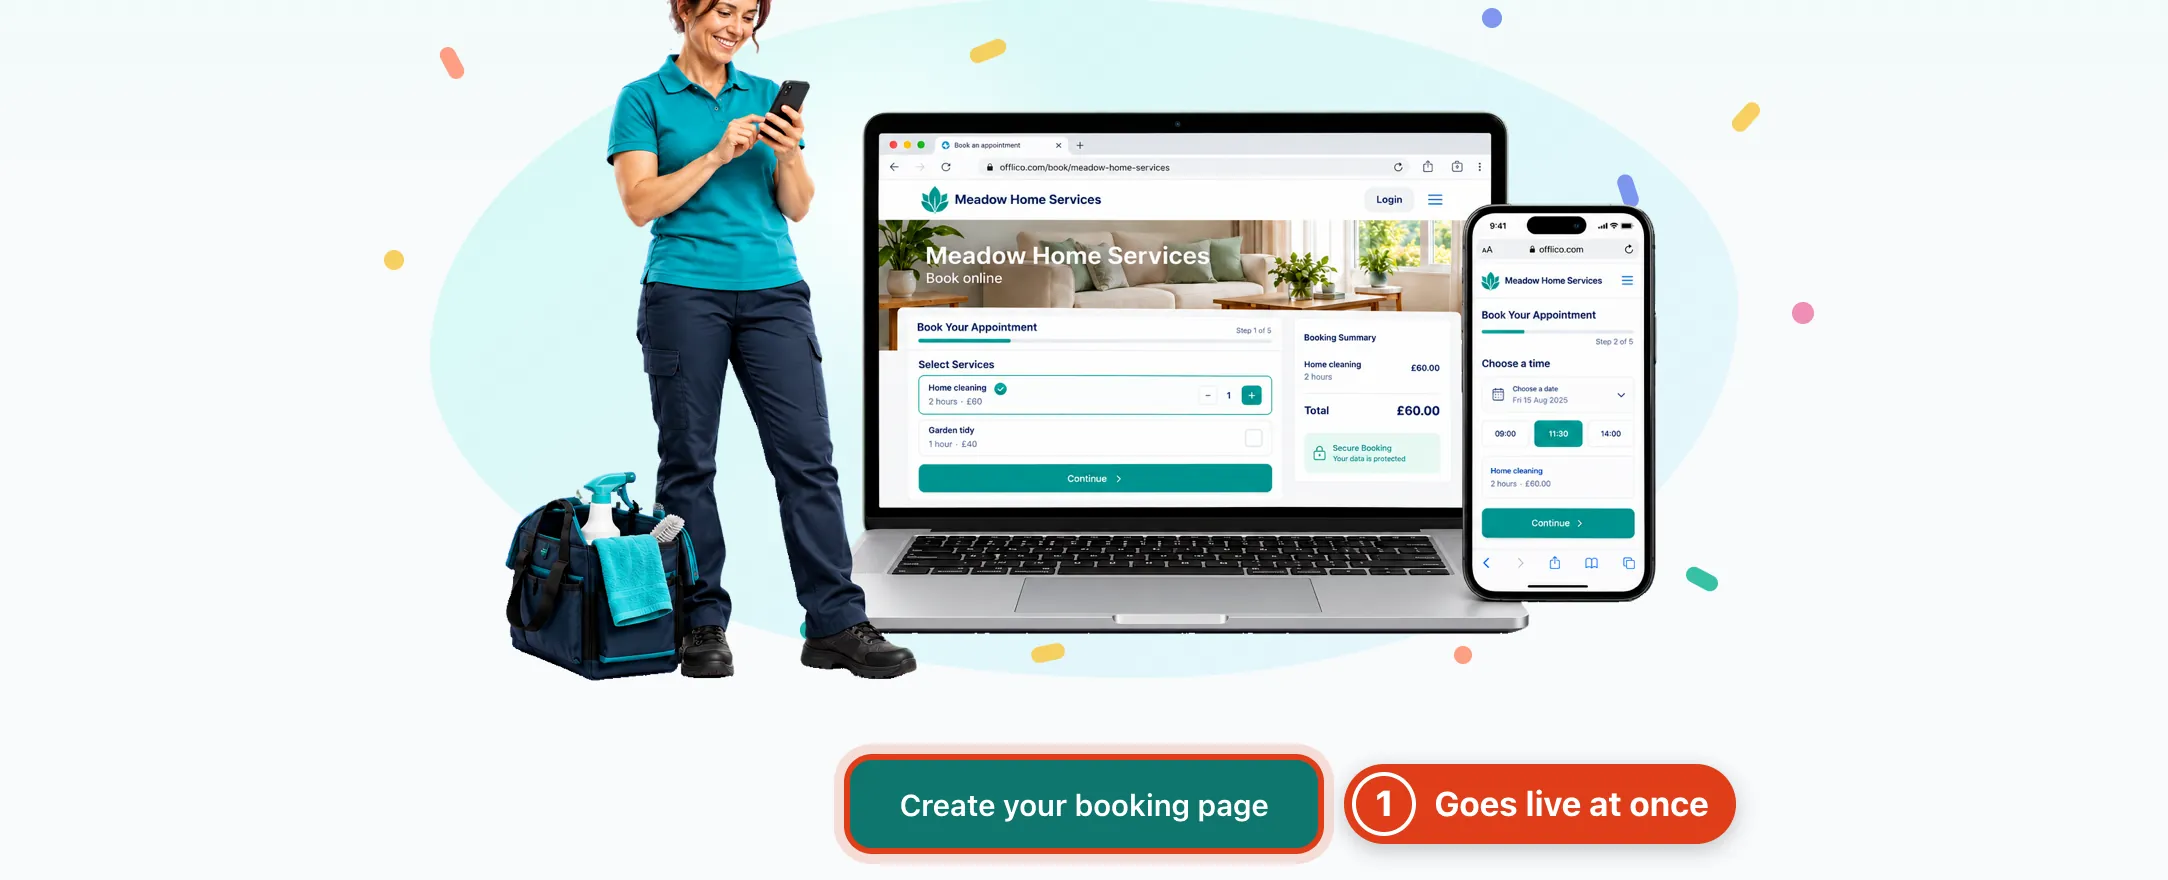
- Create your booking page puts your page live at once, at an address made from your business name (a random code if you haven't set one).
Step 2 Share your page
Send the address with Copy link or Share, or put it on cards and posters with a QR code.
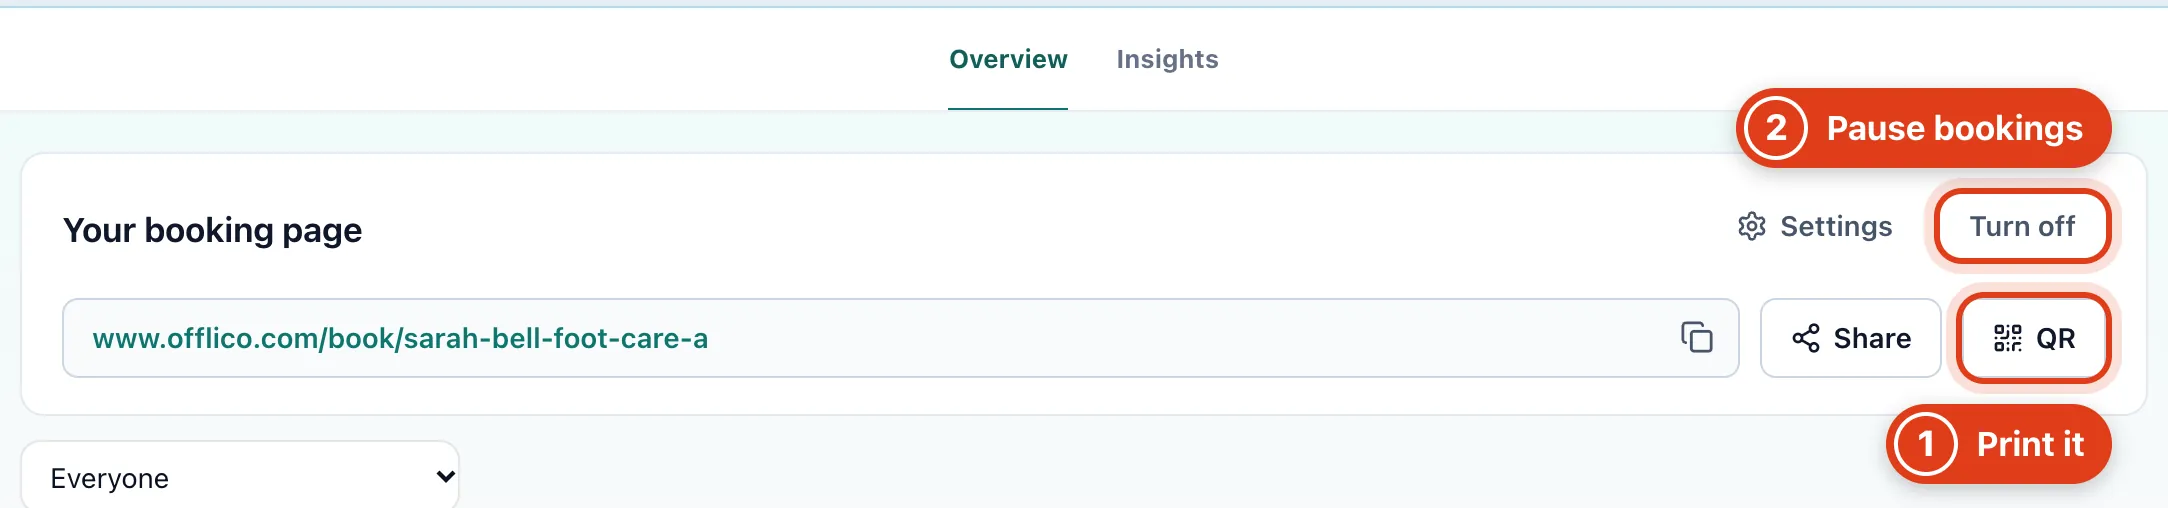
- QR shows a code that opens your page, with Download to save it for printing.
- Turn off shows clients Bookings open soon instead of your page; visits already booked stay, like Helen Price's on Thursday.
Part 2 Follow your online bookings
Step 3 See today's online bookings
Bookings from your page go straight into your calendar, unless New bookings is set to I approve each one first under Confirmations & cancellations.
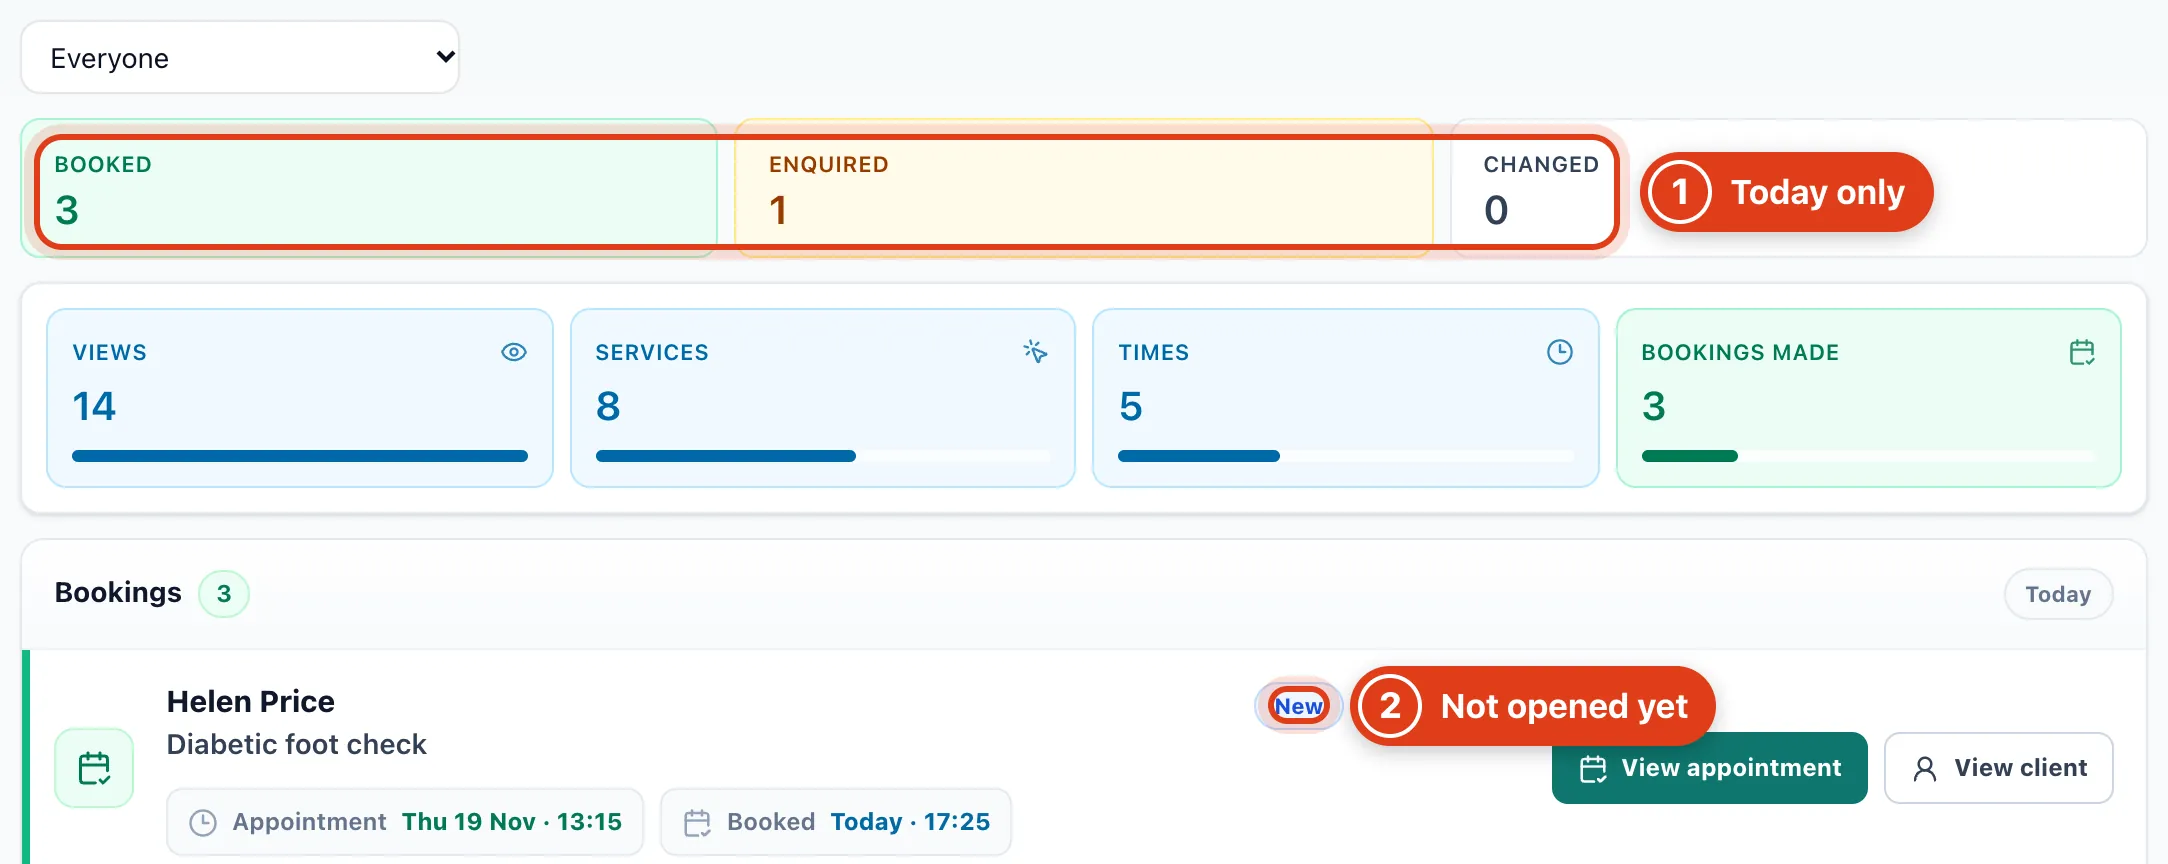
- Booked, Enquired and Changed count what came in today, whatever the visit's date. For example, Helen Price booked today for Thursday, so she counts in today's Booked.
- New marks a booking you haven't opened yet; it goes once you click it.
Step 4 Answer enquiries
Further down Overview, answer the enquiries sent through your page.

- Create booking opens your calendar with this client, service and message filled in.
- Reply opens an email to the client, or a call if they left only a phone number.
Step 5 See how your page is doing
Click Insights at the top of Online booking to see visits and bookings over the last 7 or 30 days.
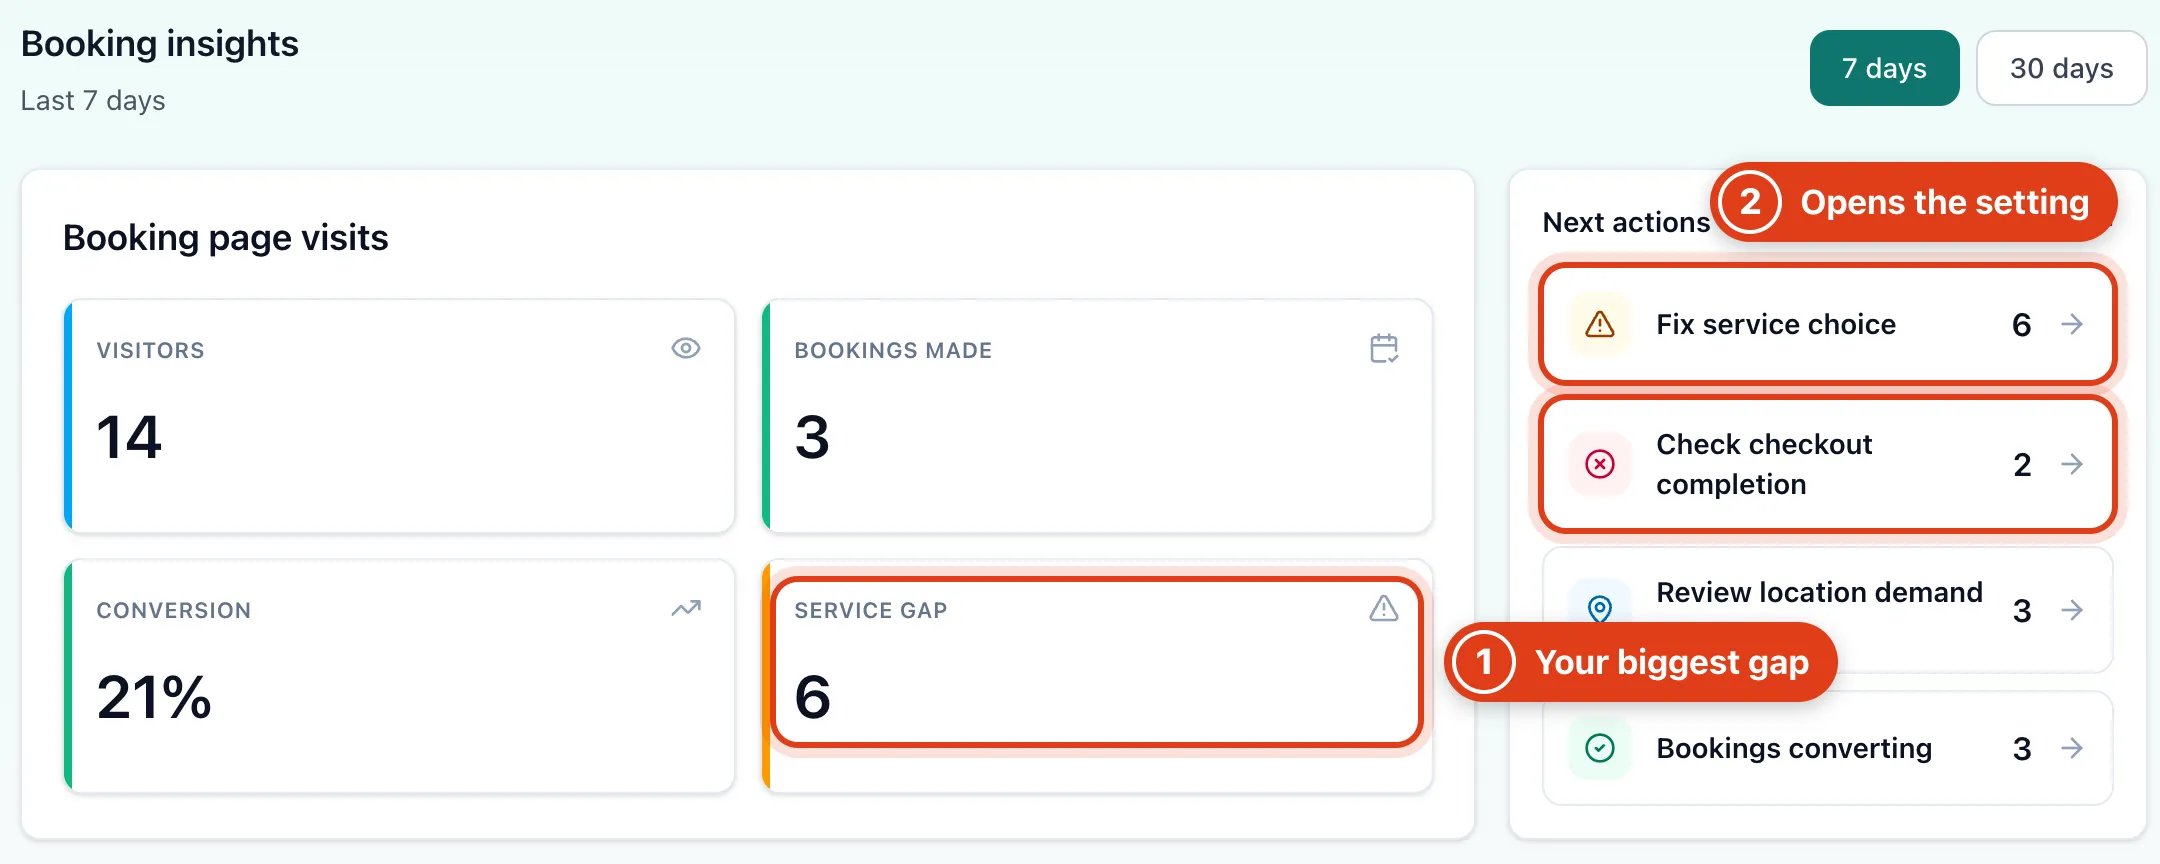
- Service gap shows last because it is your biggest gap: 14 people opened your page and 8 chose a service, so 6.
- Fix service choice and Check checkout completion open your page's settings.
Part 3 Choose who can book and when
Step 6 Choose who can book for the first time
Go to Settings › Bookings › New customers and choose whether new clients can book online.
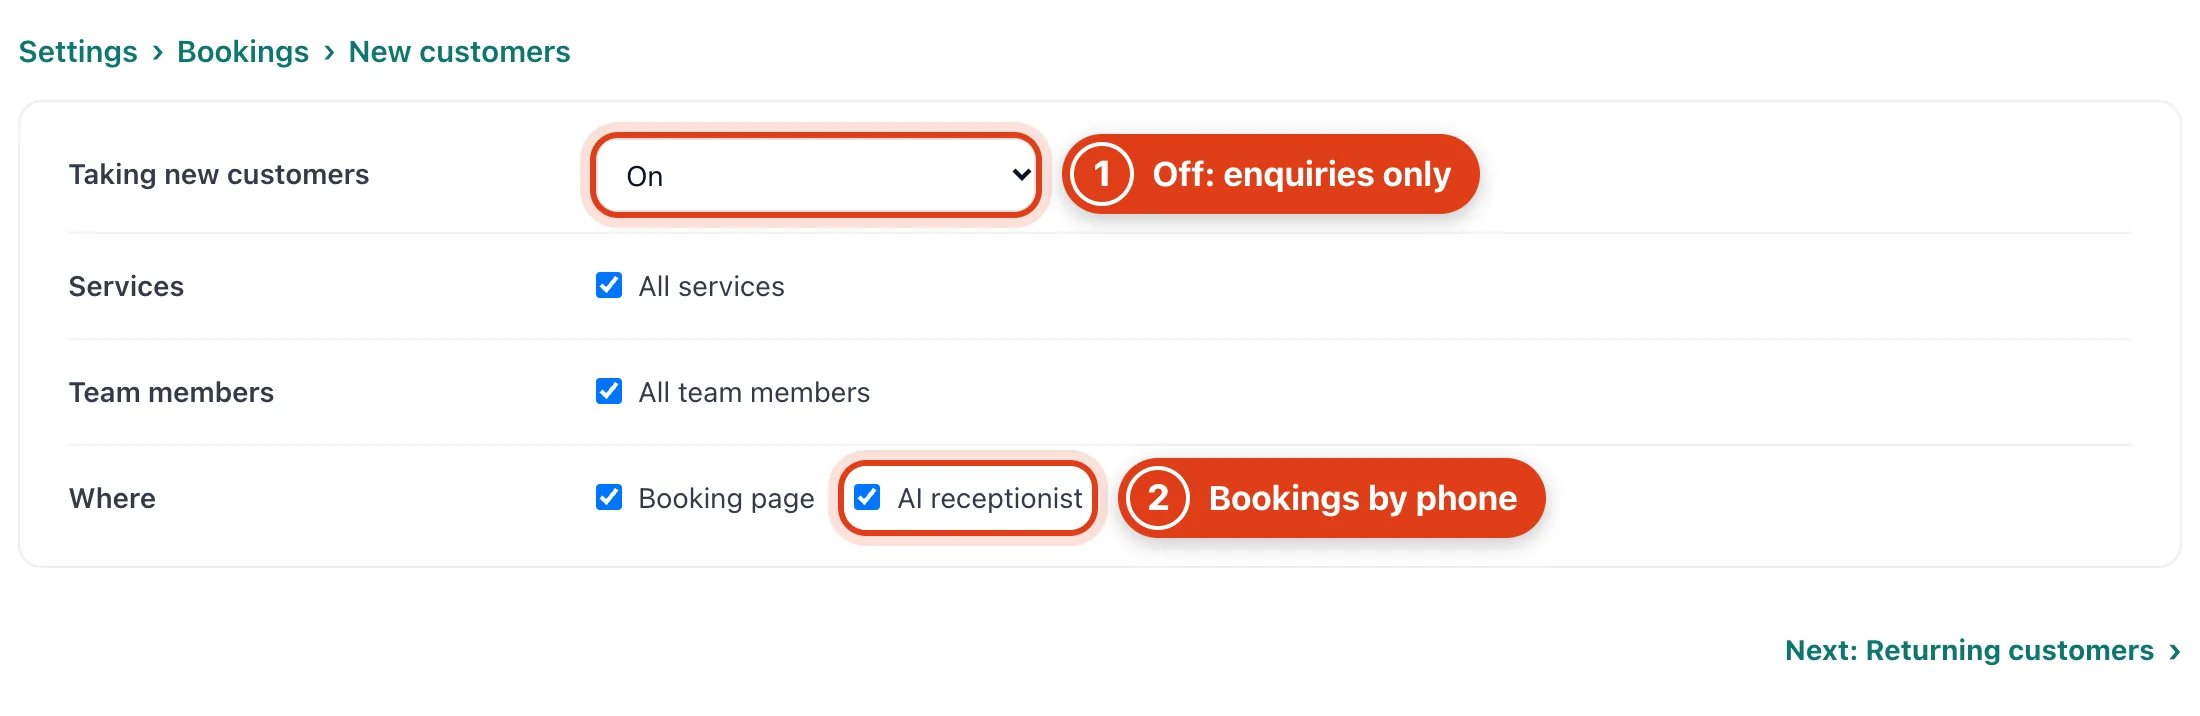
- Taking new customers, when off, shows new clients Not taking new customers and lets them send you an enquiry instead. For example, Linda Evans has been before, so she still books with I've been before.
- AI receptionist decides whether new clients can also book by phone with your AI receptionist.
Step 7 Choose who can book again
Under Returning customers, choose who clients who have booked before can book with.
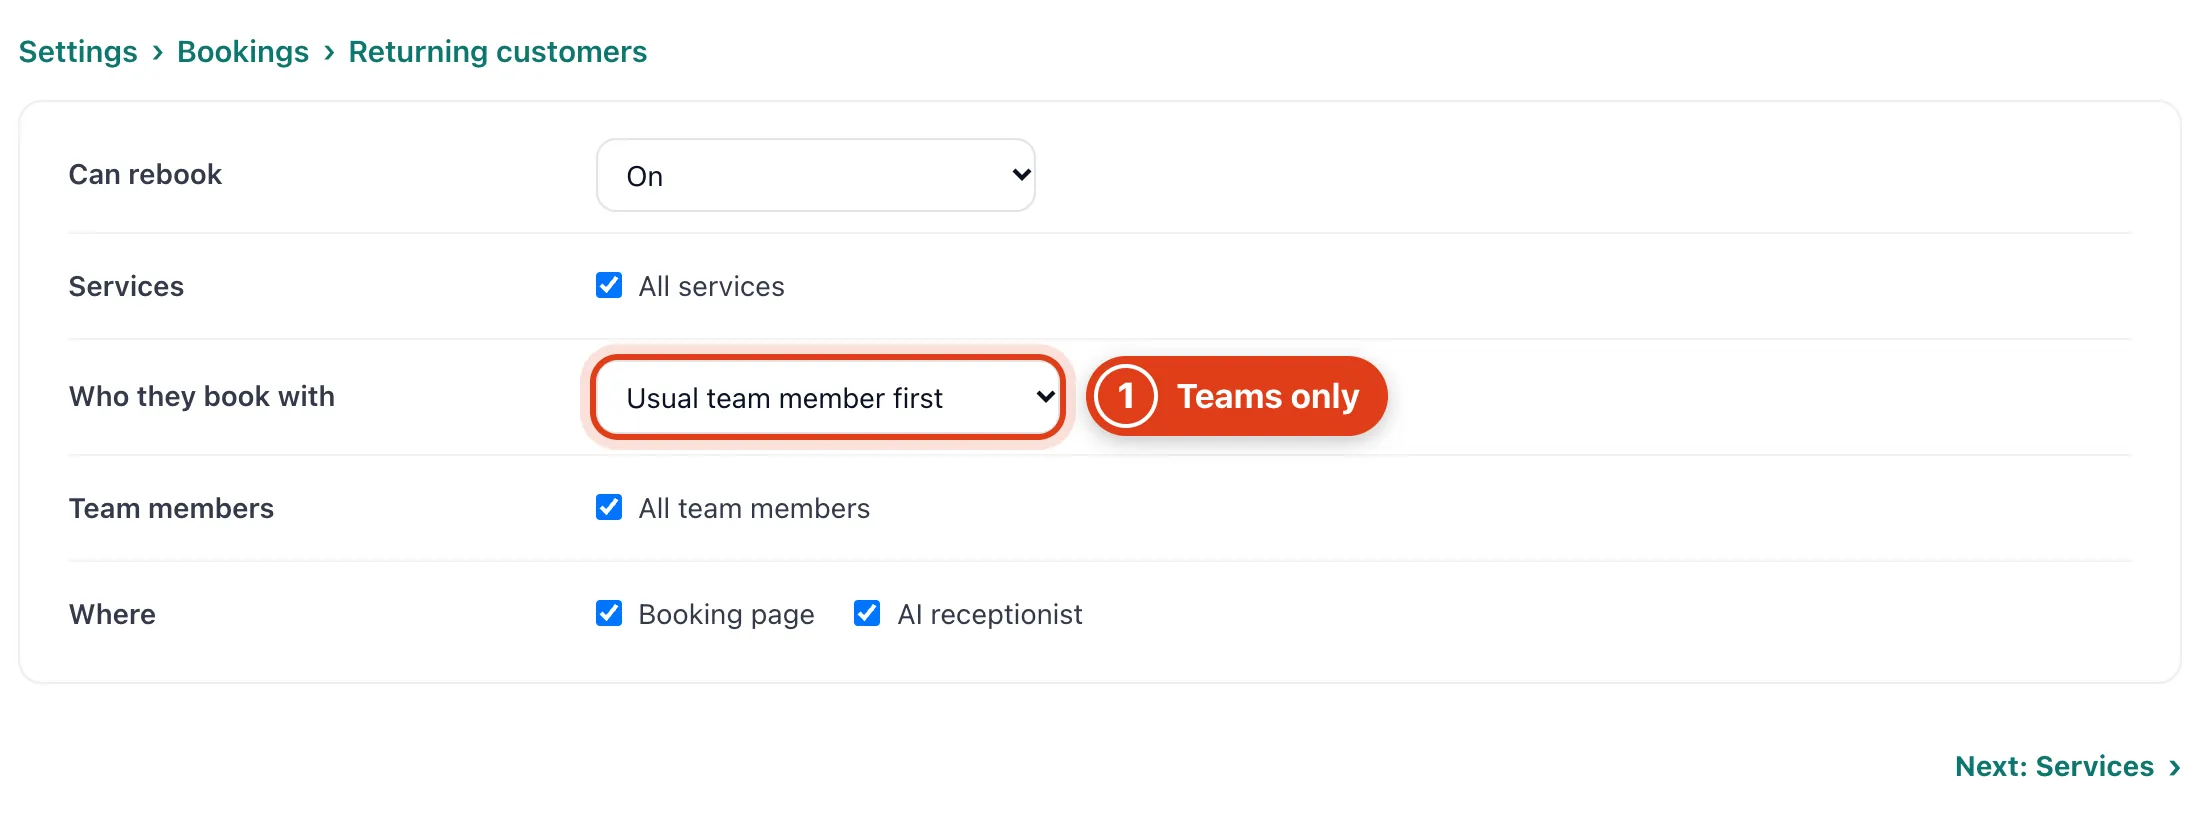
- Who they book with: with Usual team member first, a client whose last visit was with Priya Shah is offered Priya first; with Only their usual team member, only Priya.
Step 8 Choose when clients can book
Open Availability to set how far ahead and how close to a visit clients can book.
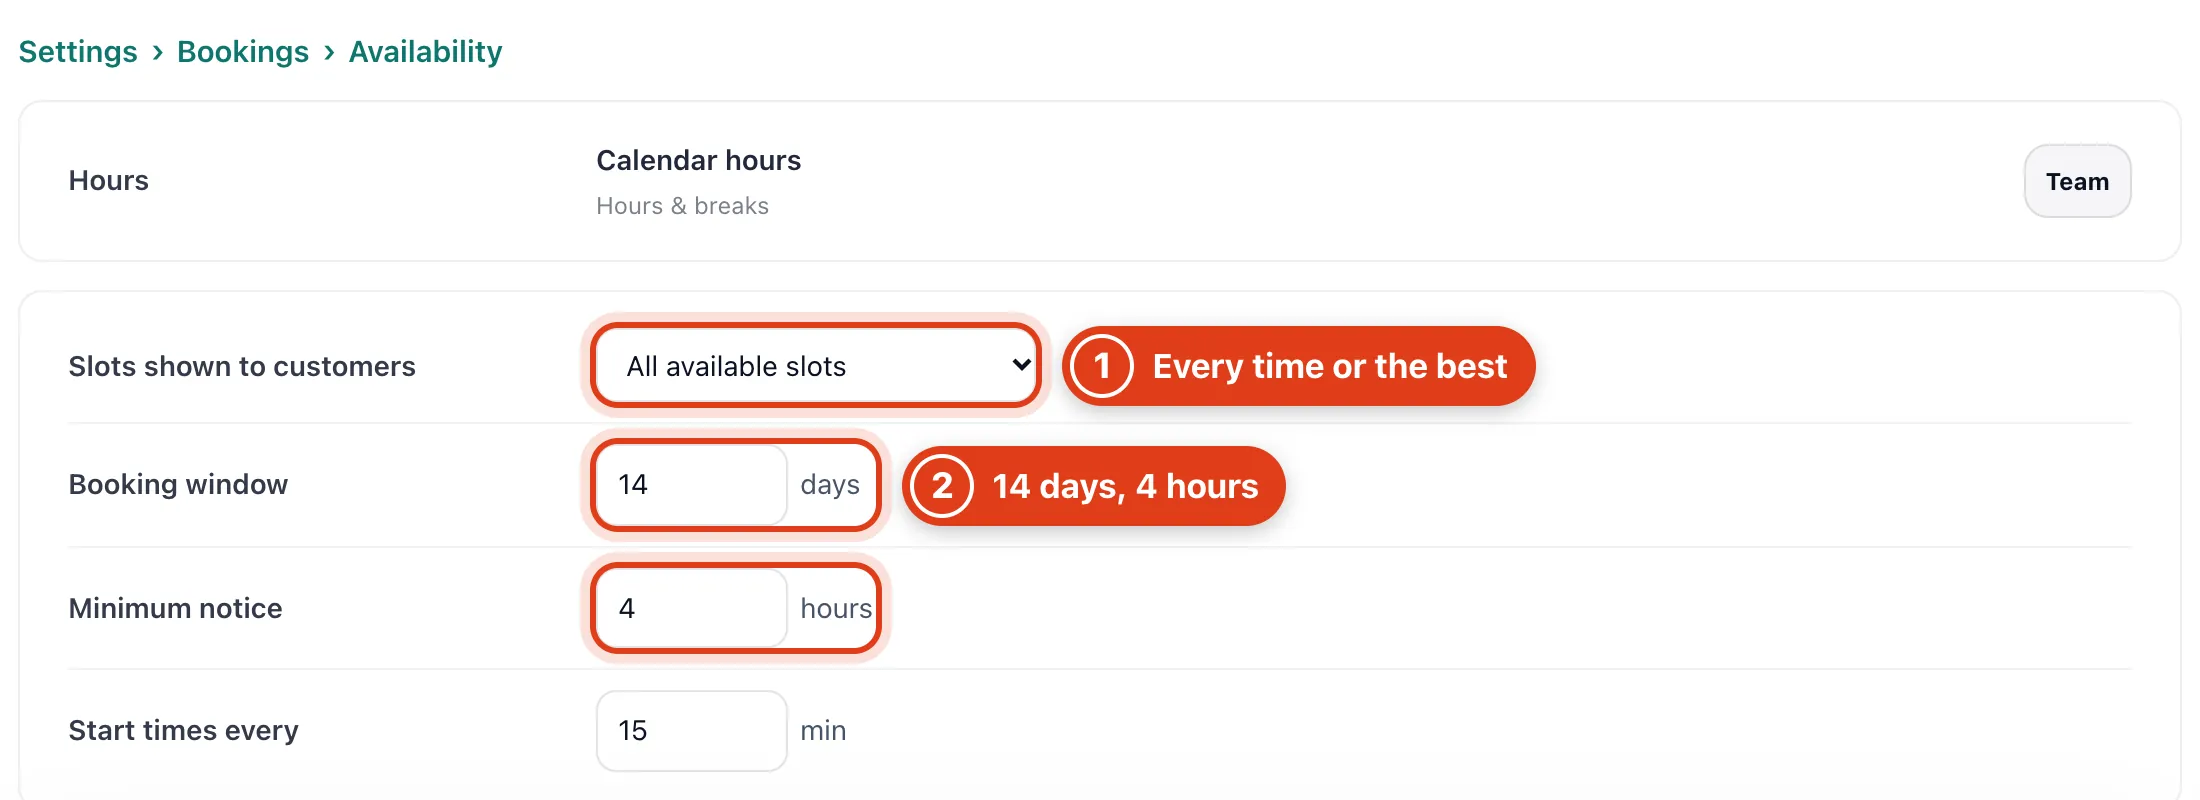
- Slots shown to customers: Suggestions (smart times) offers only your best few (5 to start with), those with the least travel; for example, a time between two visits on the client's street beats one across town.
- Booking window counts today. For example, with 14 days and 4 hours of Minimum notice, a client looking at 09:00 on Monday 16 November can book from 13:00 that day to Sunday 29 November.
Step 9 Space out your visits
Further down Availability, leave time between visits.
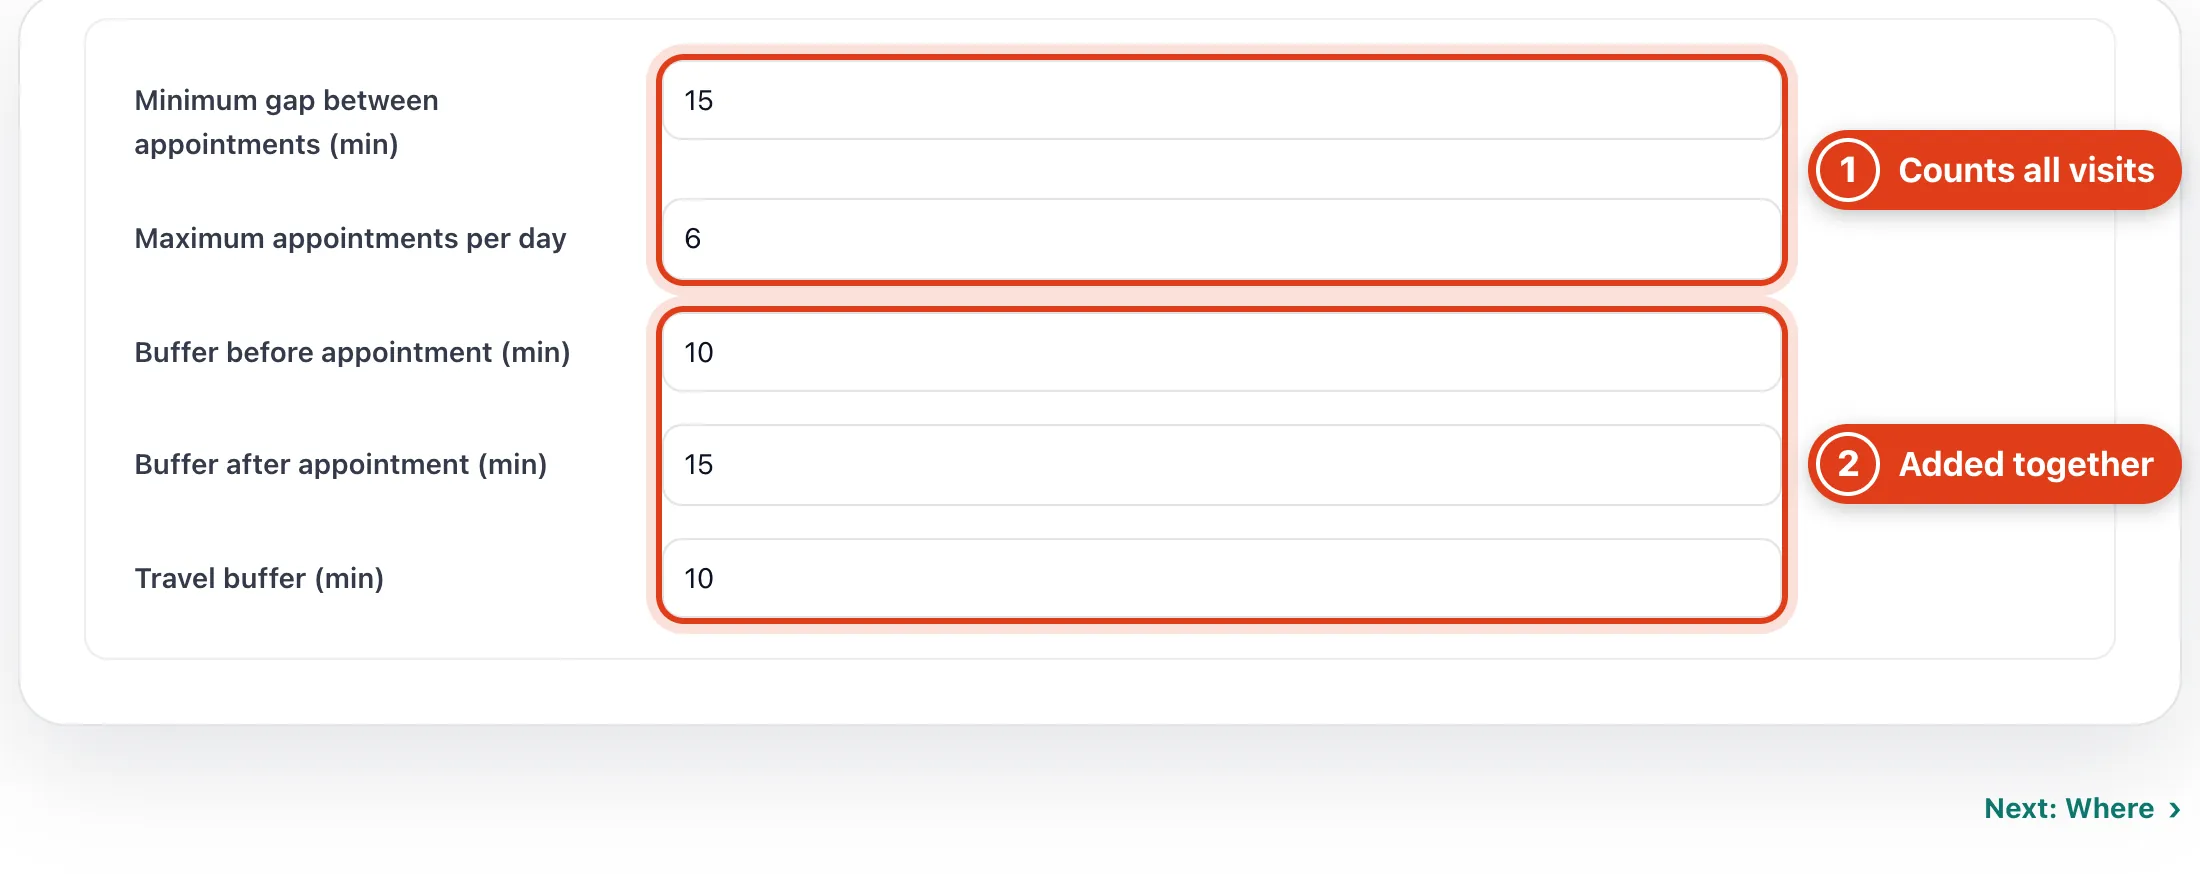
- Minimum gap and Maximum appointments per day count every visit in your calendar, not only online ones. For example, with 6 a day, once Friday has 6 visits, clients see no times on Friday.
- Buffer after appointment, Travel buffer and Buffer before appointment add up. For example, a client 25 minutes' drive from a visit ending at 11:00 can book 12:00 at the earliest (15 + 25 + 10 + 10).
Part 4 Make the page look yours
Step 10 Pick a style
Click Settings on the Your booking page card, then pick a Page style.
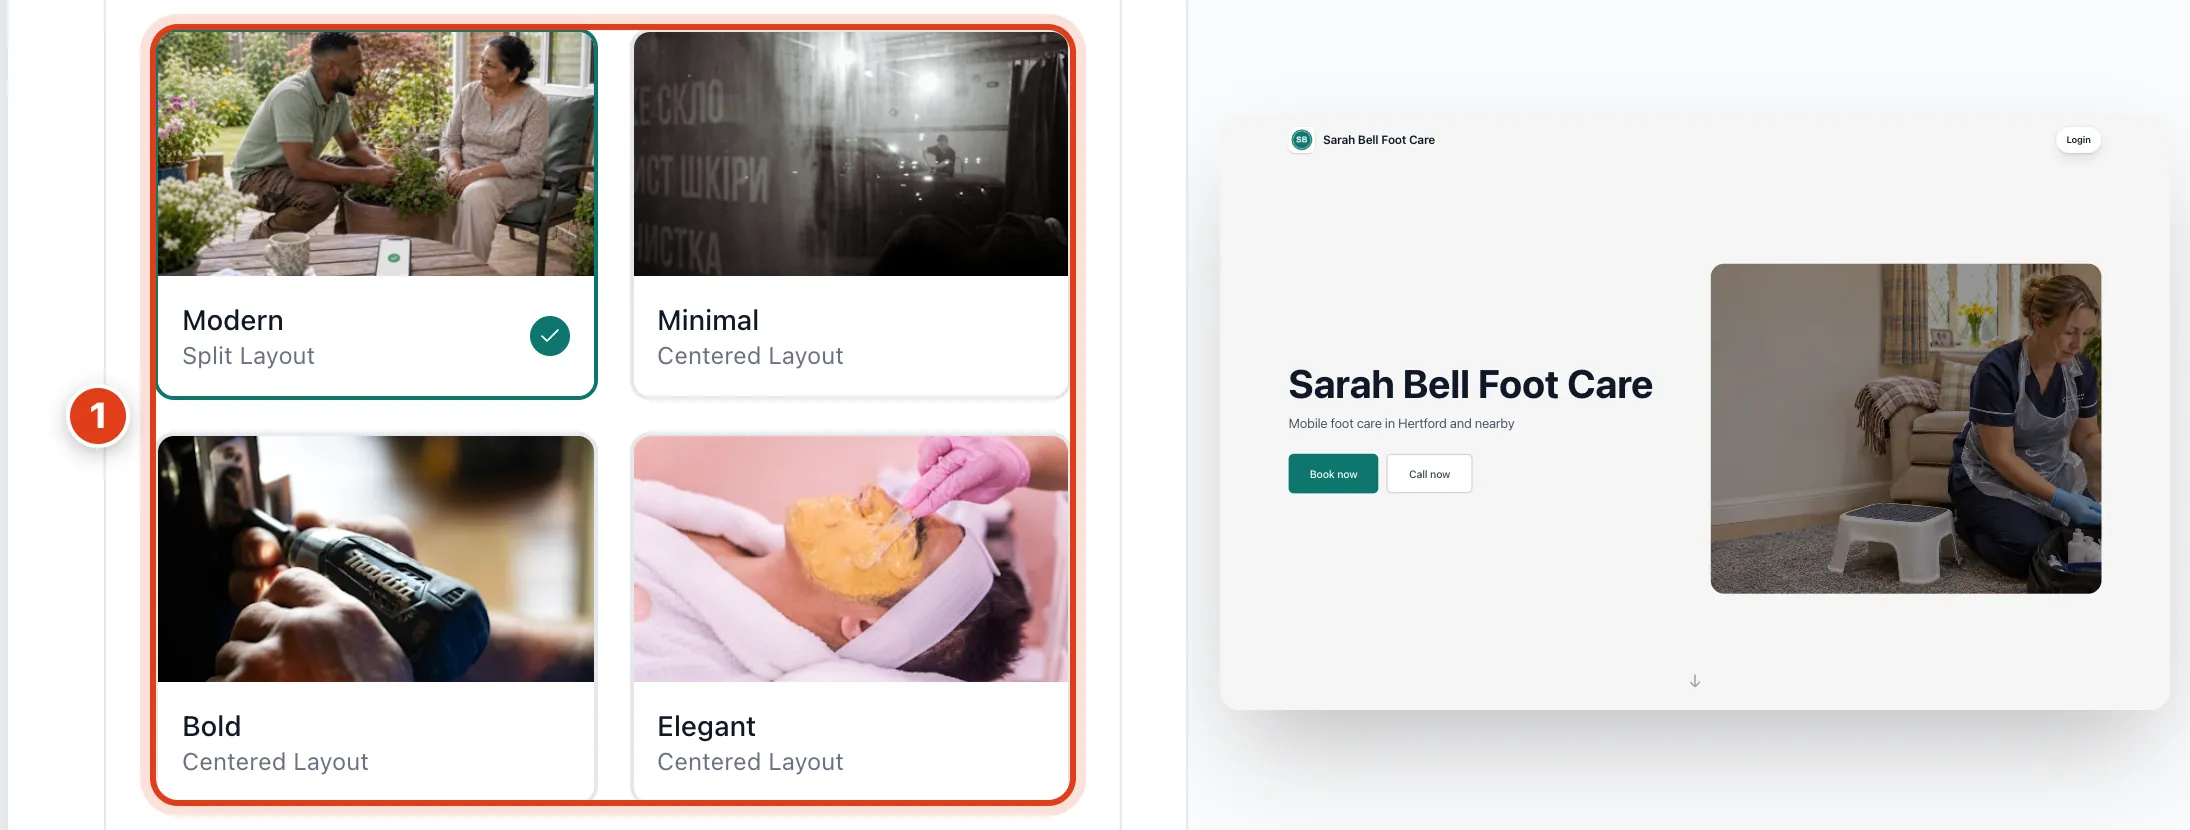
- Page style sets your page's layout and the Style options under it.
Step 11 Choose the button words and the top picture
Further down, set your main button's words under Page header and the top picture under Logo & images.
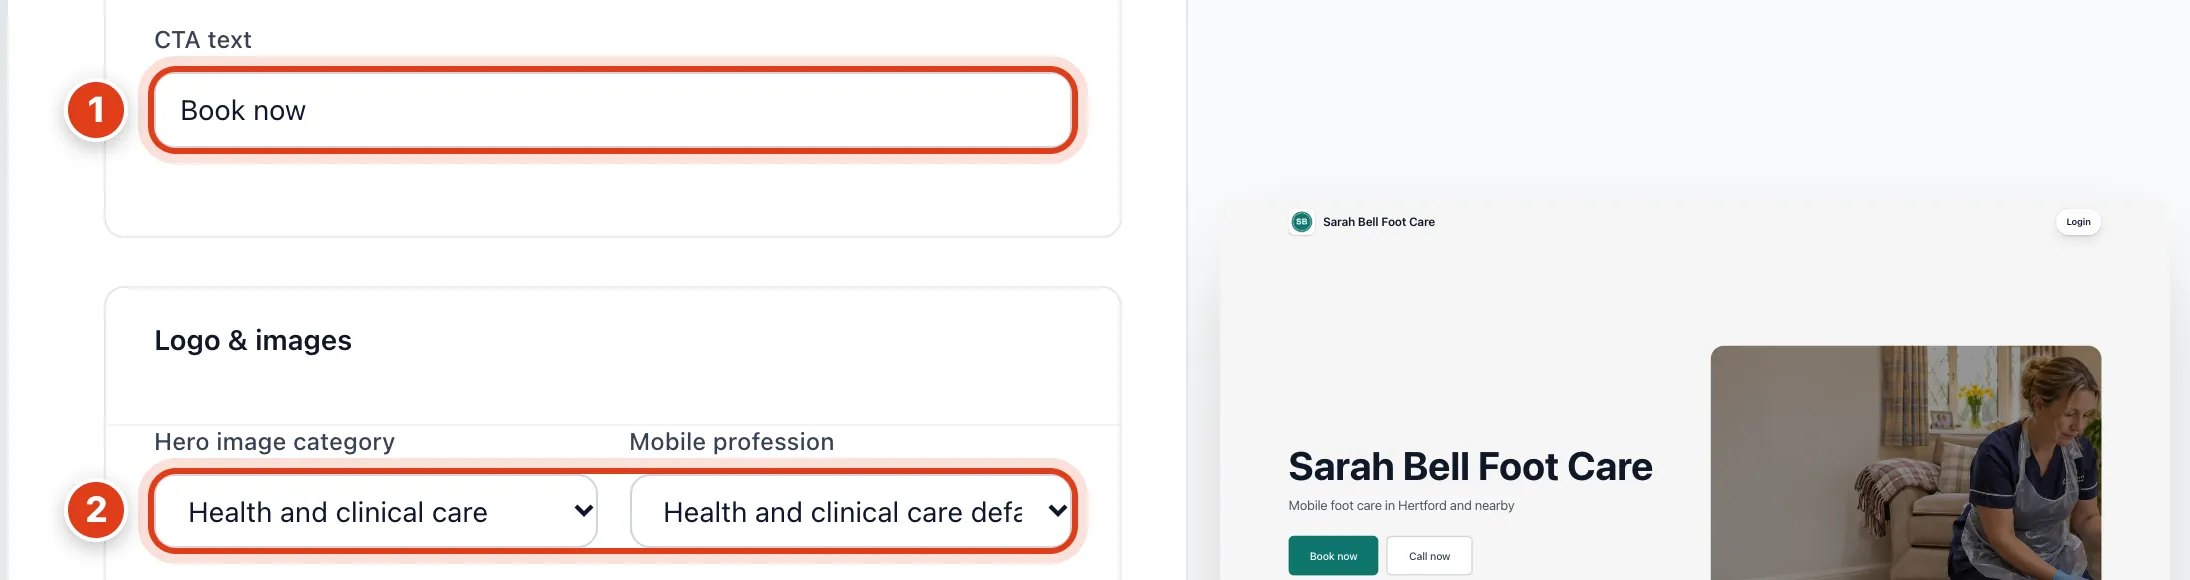
- CTA text is the words on your page's main button, which takes clients down to booking. For example, change Book now to Book a home visit.
- Hero image category and Mobile profession pick the picture at the top, unless you upload your own below them.
Step 12 Add your contact details
Under Branding, add how clients can reach you, then Save.
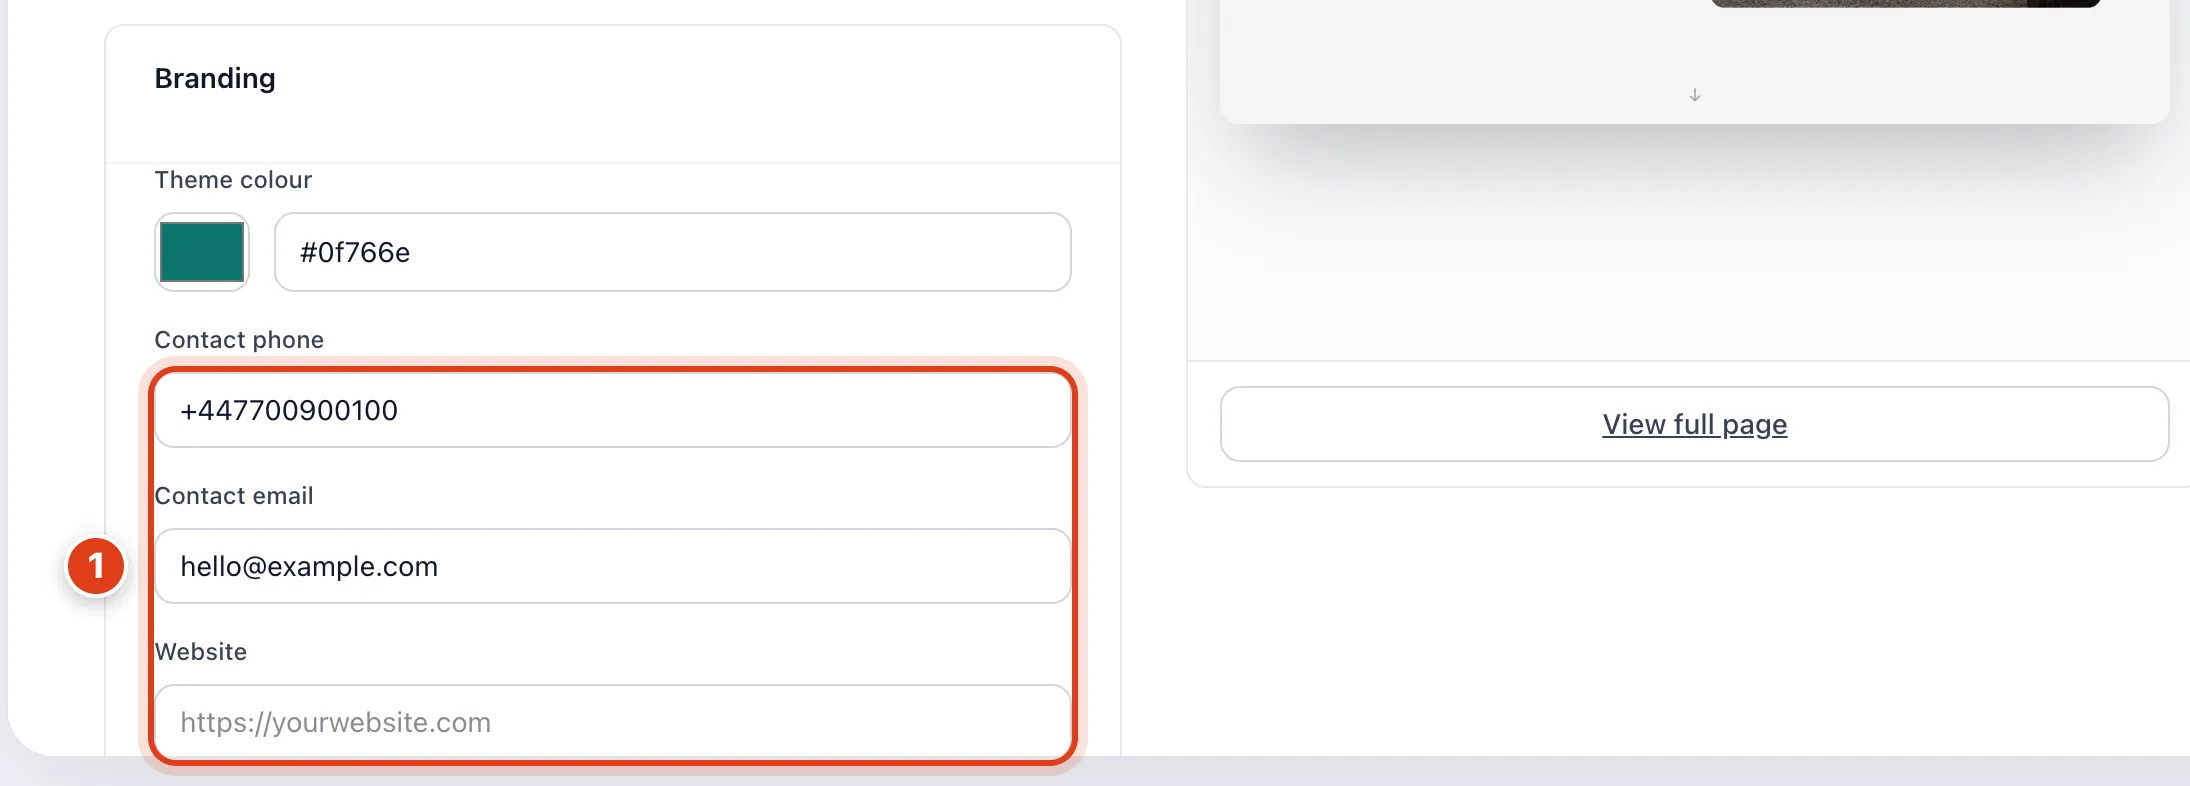
- Your Contact phone, Contact email and Website show on your page as links clients can tap.
Step 13 Add a Book online button to your website
Open Add a Book online button to your website and choose the Button text.
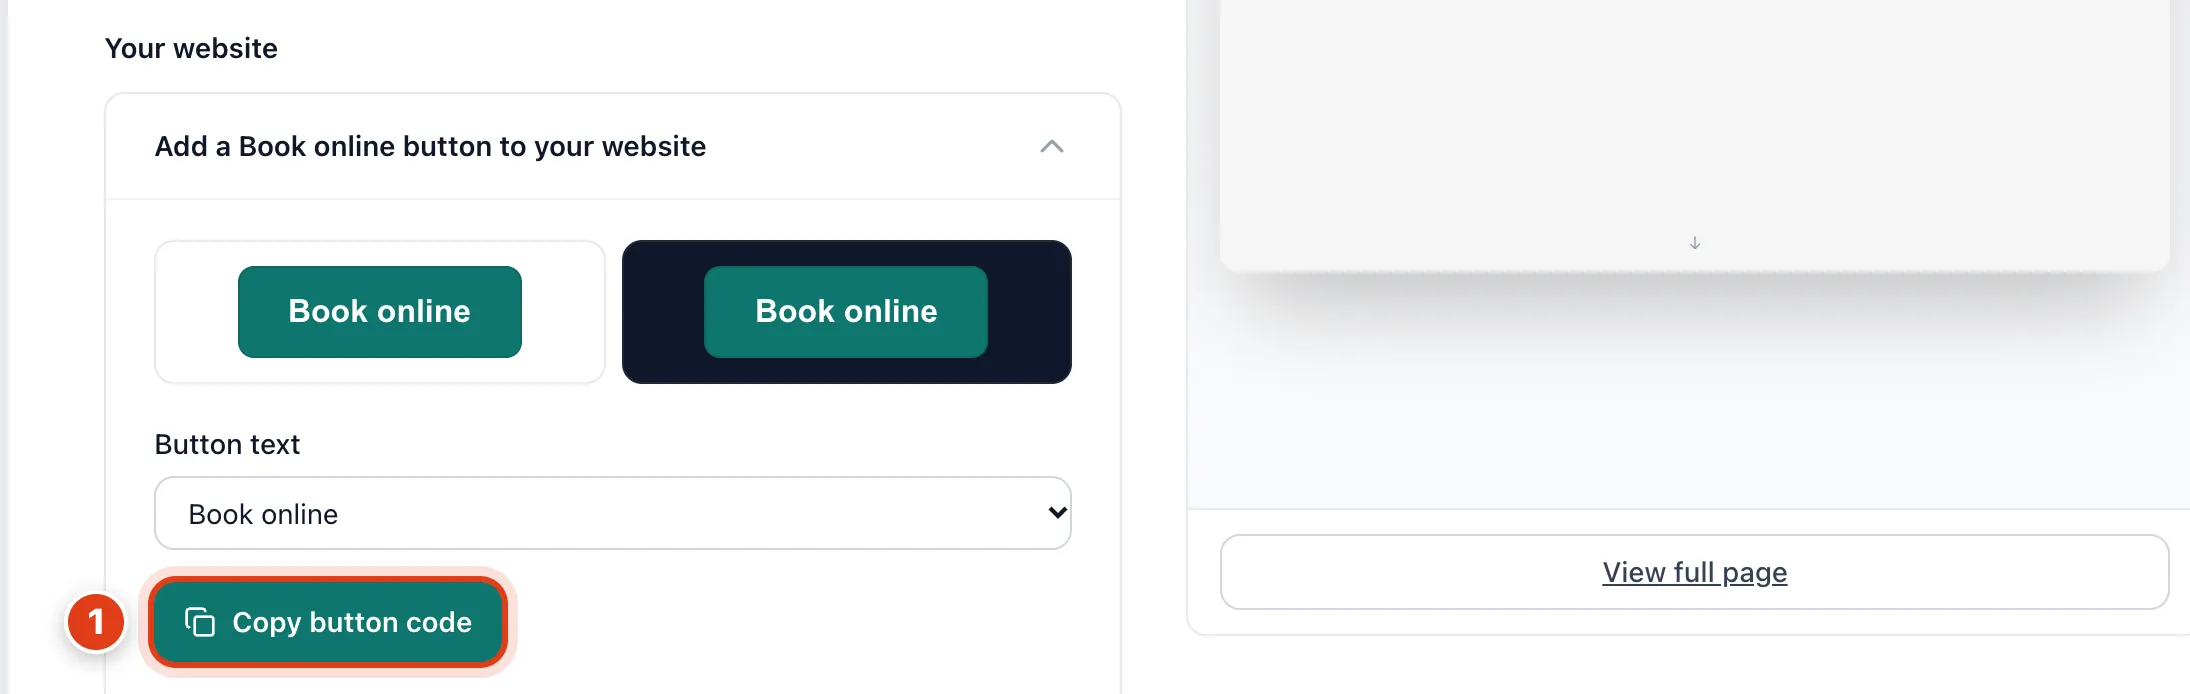
- Copy button code: paste it into your website, and the button opens your booking page in a new tab.
Step 14 Add an enquiry form to your website
Open Enquiry form for your website and copy the code into your site (HTML if it can't run scripts), then check it here.
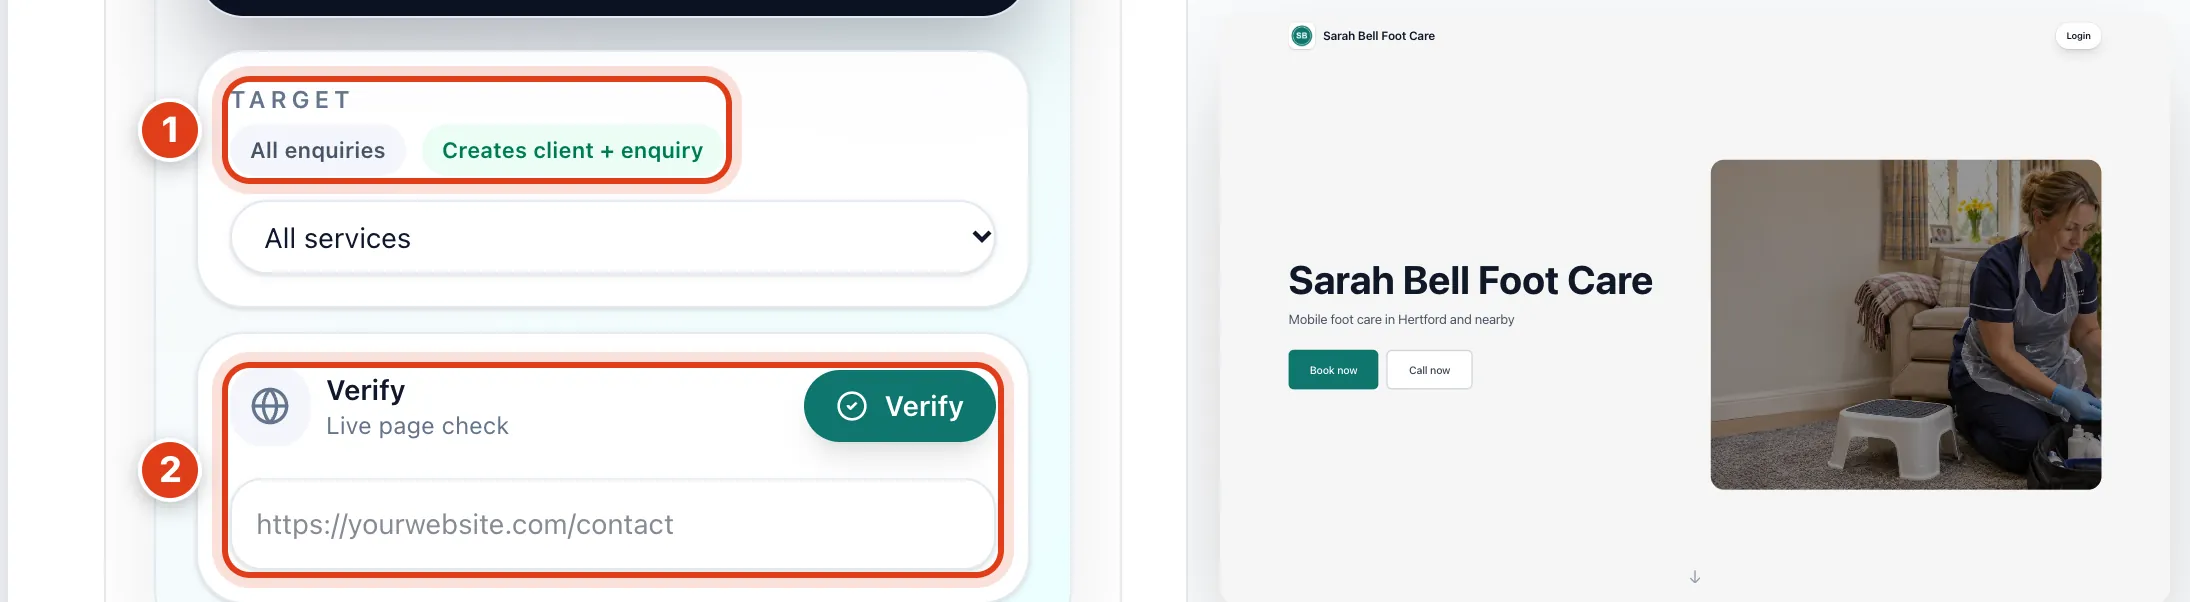
- Creates client + enquiry: each form adds the client and an enquiry, but only while your page is on. After Turn off, forms sent from your website don't reach you.
- Verify opens the address you type and checks your form is on it.