
What your clients see when they book online
Follow a booking on your page, from the services to the confirmation.
Updated 16 November 2026
Part 1 Choosing a service
Step 1 Your business at the top
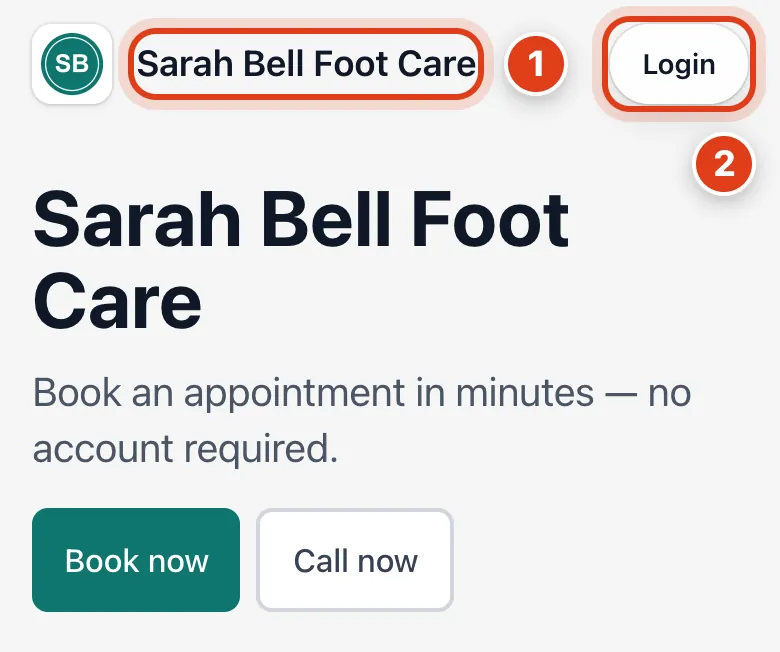
- Sarah Bell Foot Care: your business name and logo, from Business details (see Set up your business).
- Login is for your clients' own accounts with their saved details, and shows only for UK businesses. For example, once Linda Evans has signed in, it reads My account.
Step 2 Choose a service
Only services with Show on booking page ticked in Services are listed.
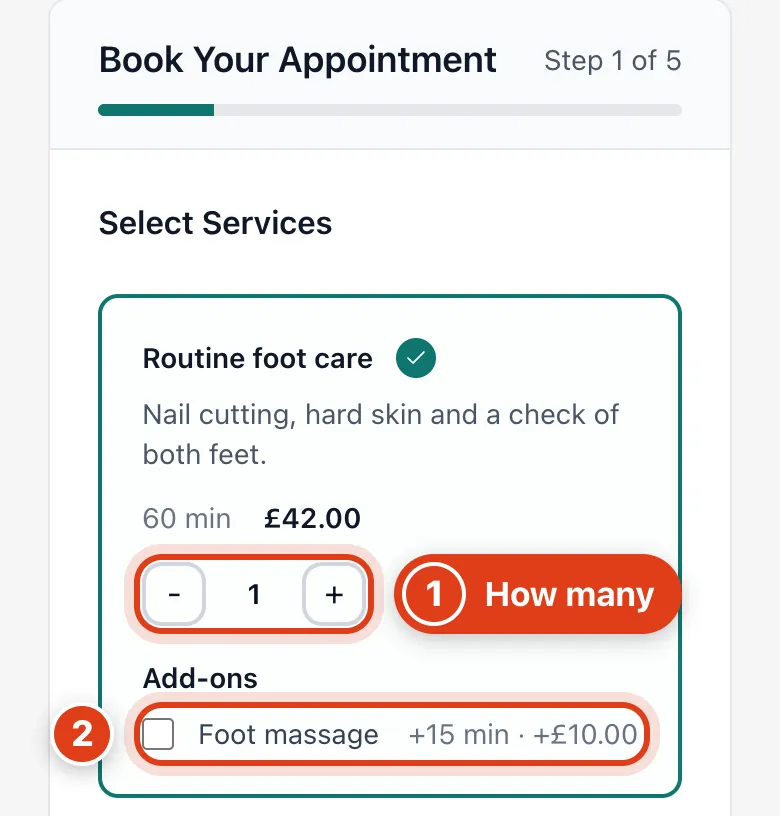
- The quantity buttons book a service more than once, and its time and price multiply. For example, 2 x Routine foot care books 120 minutes for £84.
- Foot massage and other add ons count once per visit, whatever the quantity. For example, with 2 x Routine foot care it makes 135 minutes for £94.
Step 3 The summary and Contact Us
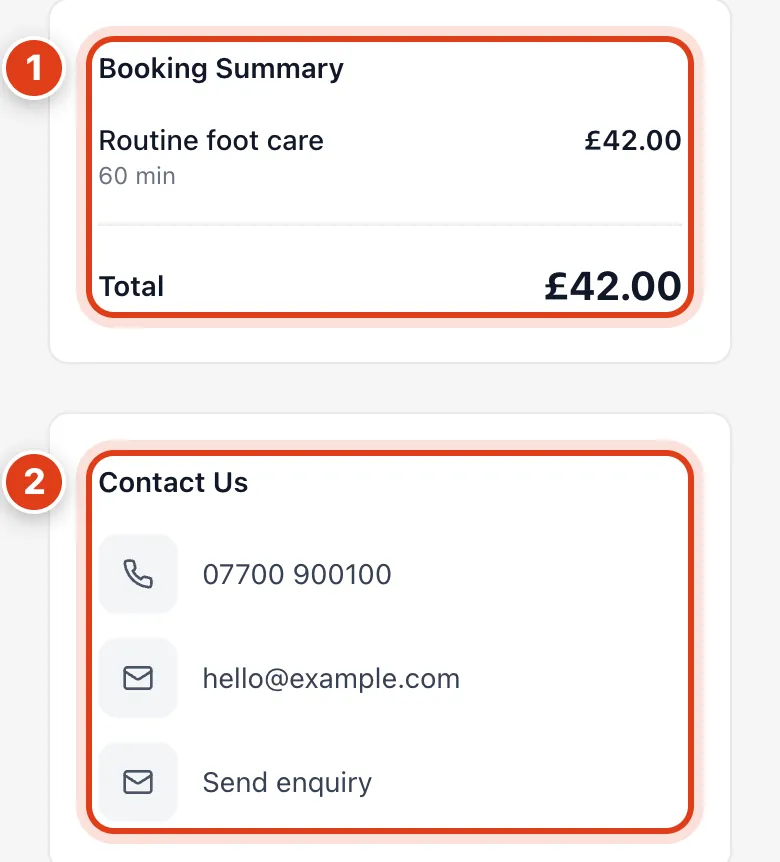
- Booking Summary also lists add ons, any travel fee and any out of hours price as your client picks them. For example, Foot massage gets its own row with its 15 minutes and £10.
- Contact Us: the details come from Business details; an enquiry lands in Online booking › Enquiries and in Tasks.
Step 4 New or returning client
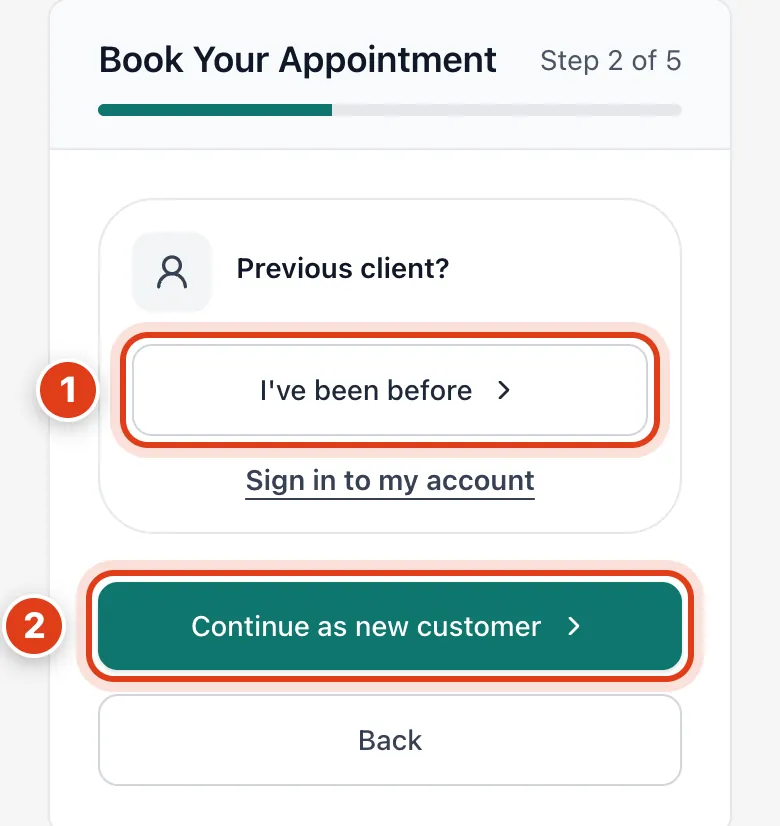
- I've been before sends a code by text or email, and a match fills in their details. For example, after her code Linda Evans finds her name, phone, email and address filled in.
- Continue as new customer applies your New customers rules in Settings › Bookings, such as which services they can book. For example, with only Routine foot care allowed, Nail cutting is refused.
Part 2 Checking the area and picking a time
Step 5 Check the service area
Outside every area your client sees Find someone else and can pass their details on through LocalPickr.
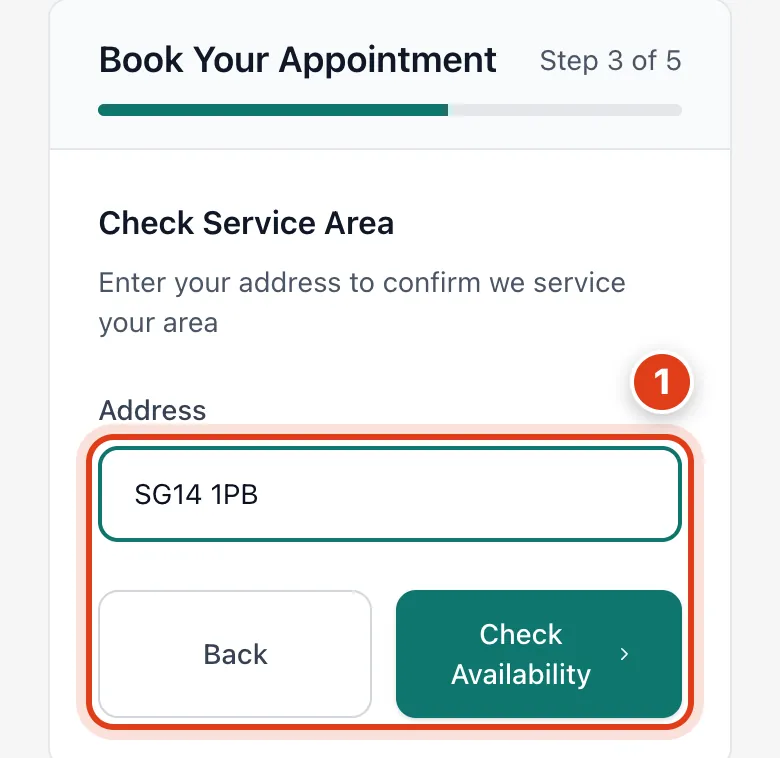
- Check Availability checks the address against your home visit areas, for home visits only (Set up your business, Part 4). For example, a Cambridge postcode is outside Sarah Bell's 45 minute area.
Step 6 Choose who and when
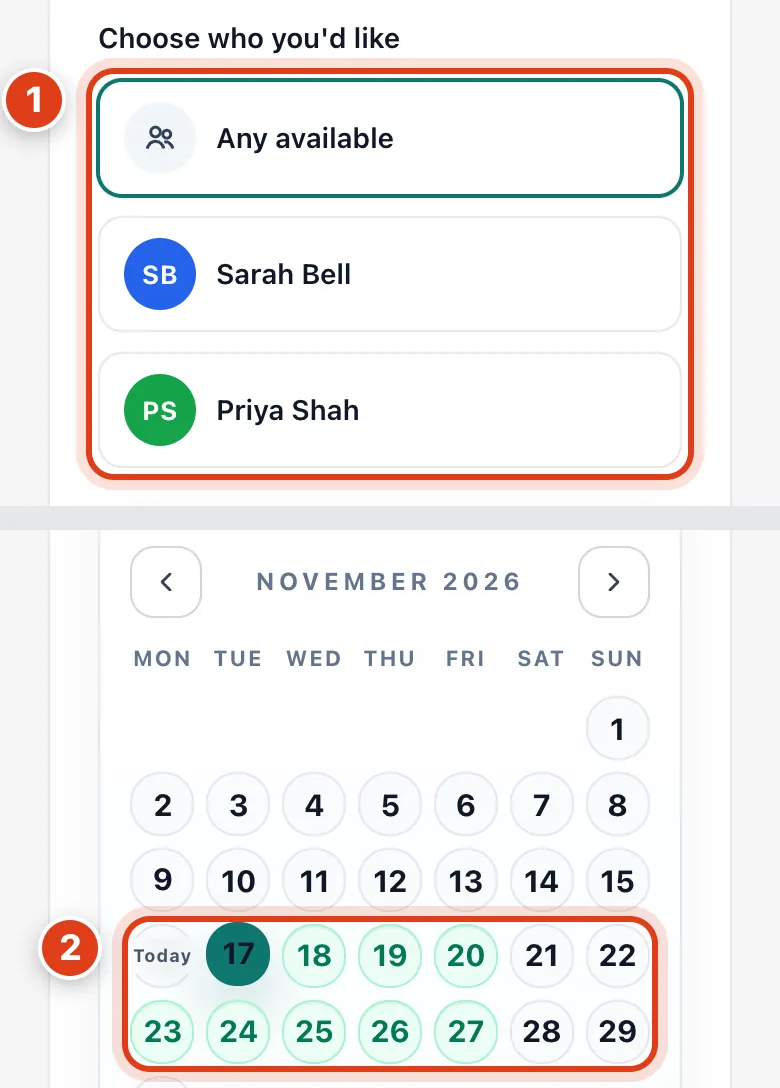
- Any available books whoever is free, by your team's rule (nearest first unless you change it). For example, a 10:00 visit goes to Priya Shah if her visit before it is closer to the client than Sarah Bell's.
- Pick a date: by default clients can book up to 14 days ahead and at least 4 hours before (Settings › Bookings). For example, at 09:00 on a Monday they can book from 13:00 that day to the Sunday after next.
Step 7 Pick a time
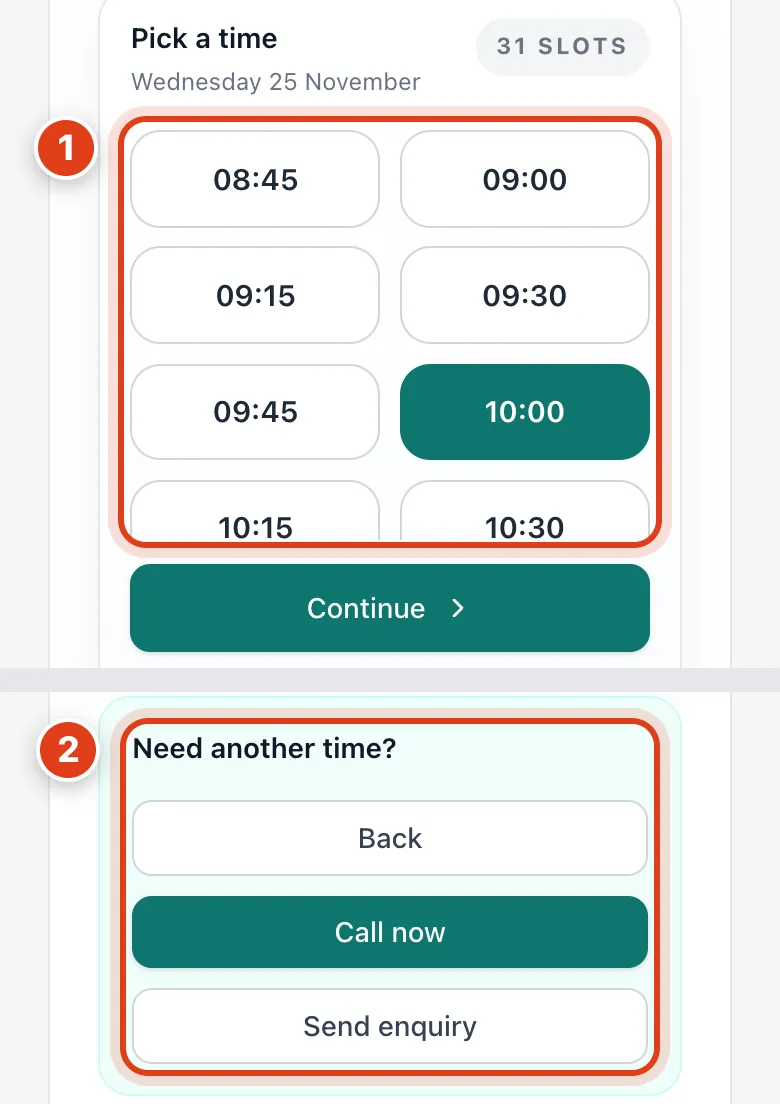
- Pick a time: times come from your hours, breaks, clinic days, travel limits and bookings, and end by closing. For example, with 15 minutes kept after each visit, Sarah Bell's last 60 minute time is 16:15.
- Send enquiry asks you for another time; it lands in Online booking › Enquiries and in Tasks.
Part 3 Their details and the booking
Step 8 Their details
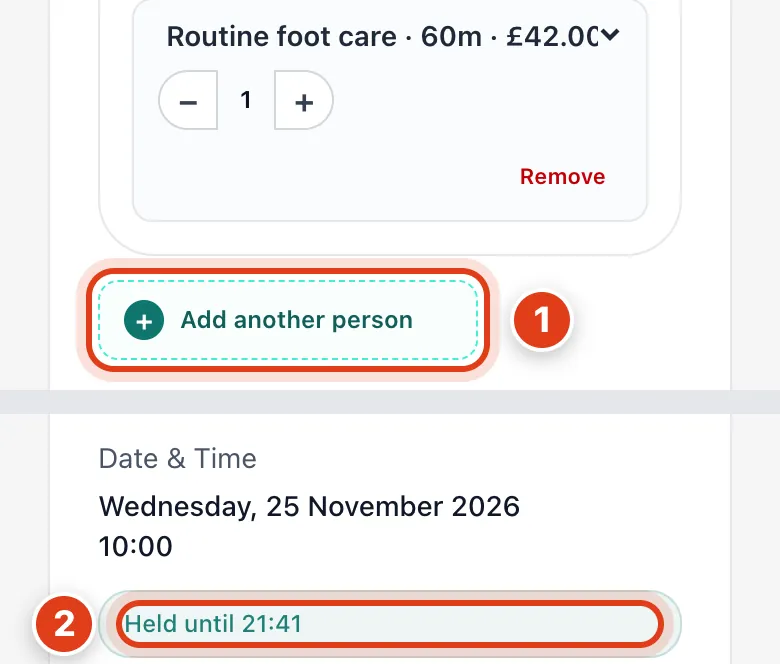
- Add another person books several people into one visit, back to back, each matched or added as a client. For example, Carol Bennett and her mother, both for Routine foot care, get one 120 minute visit for £84.
- Held until: the time is held for 10 minutes and nobody else can book it meanwhile. For example, a time chosen at 10:02 is held until 10:12, then your client picks again.
Step 9 Address, notes and Complete Booking
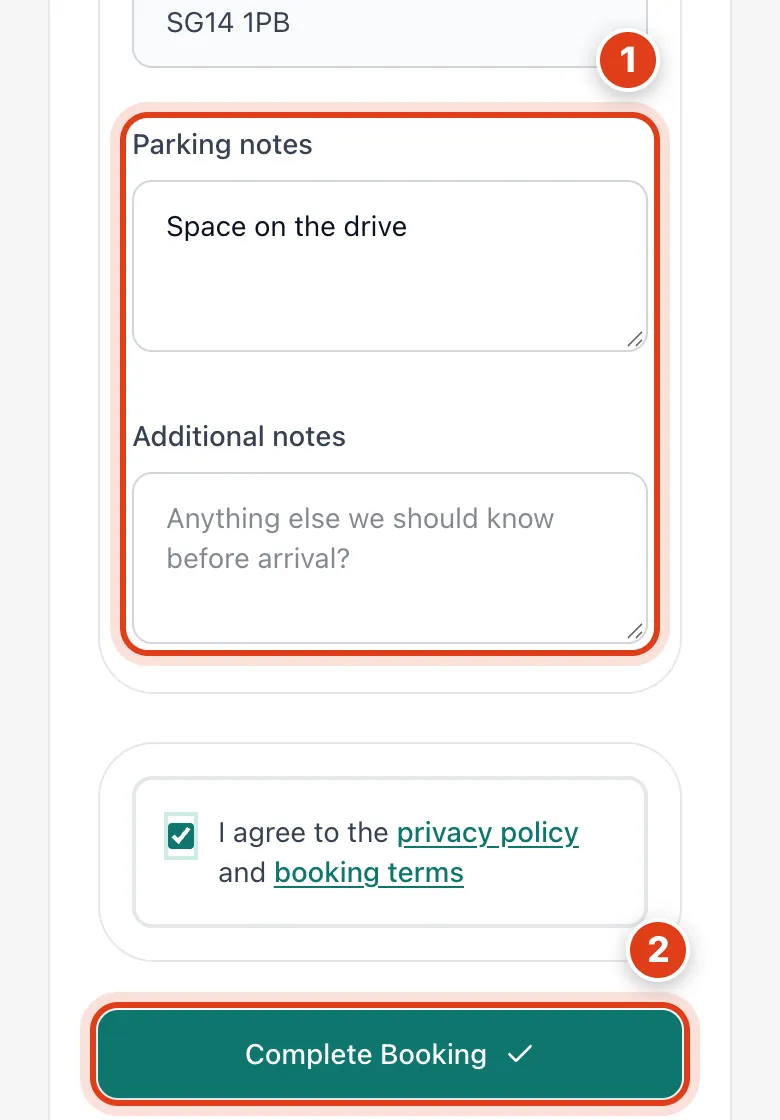
- Parking notes and Additional notes go on the appointment; parking notes are also saved on the client's address.
- Complete Booking books it at once, or waits for your OK if Settings › Bookings › New bookings says so. For example, with I approve each one first it waits in Tasks › Confirm appointments.
Step 10 The booking is confirmed
By default your client gets a confirmation email with a link to reschedule or cancel online.
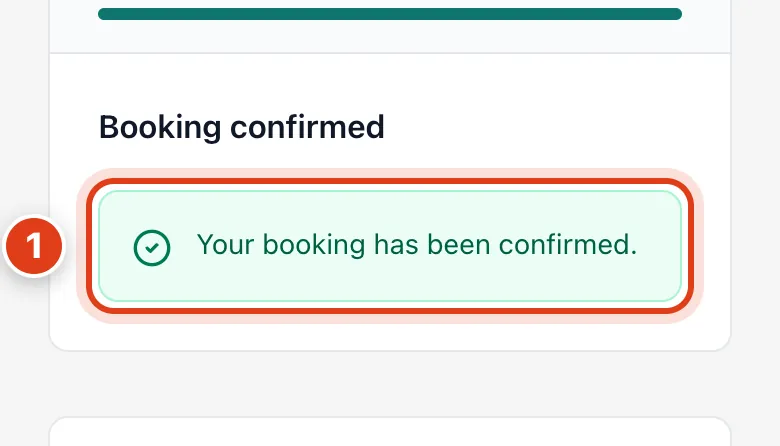
- Cancellation notice (Settings › Cancellations) closes online changes that long before. For example, with 24 hours a Wednesday 10:00 visit can be changed until Tuesday 10:00.