
How to write appointment notes with AI notes
Let AI draft your appointment notes from a recording, then check and save them.
Updated 17 November 2026
Part 1 Set up AI notes
Step 1 Accept the AI notes terms
Go to Settings › AI notes, read the terms, tick I'll ask every client before recording and click Accept.
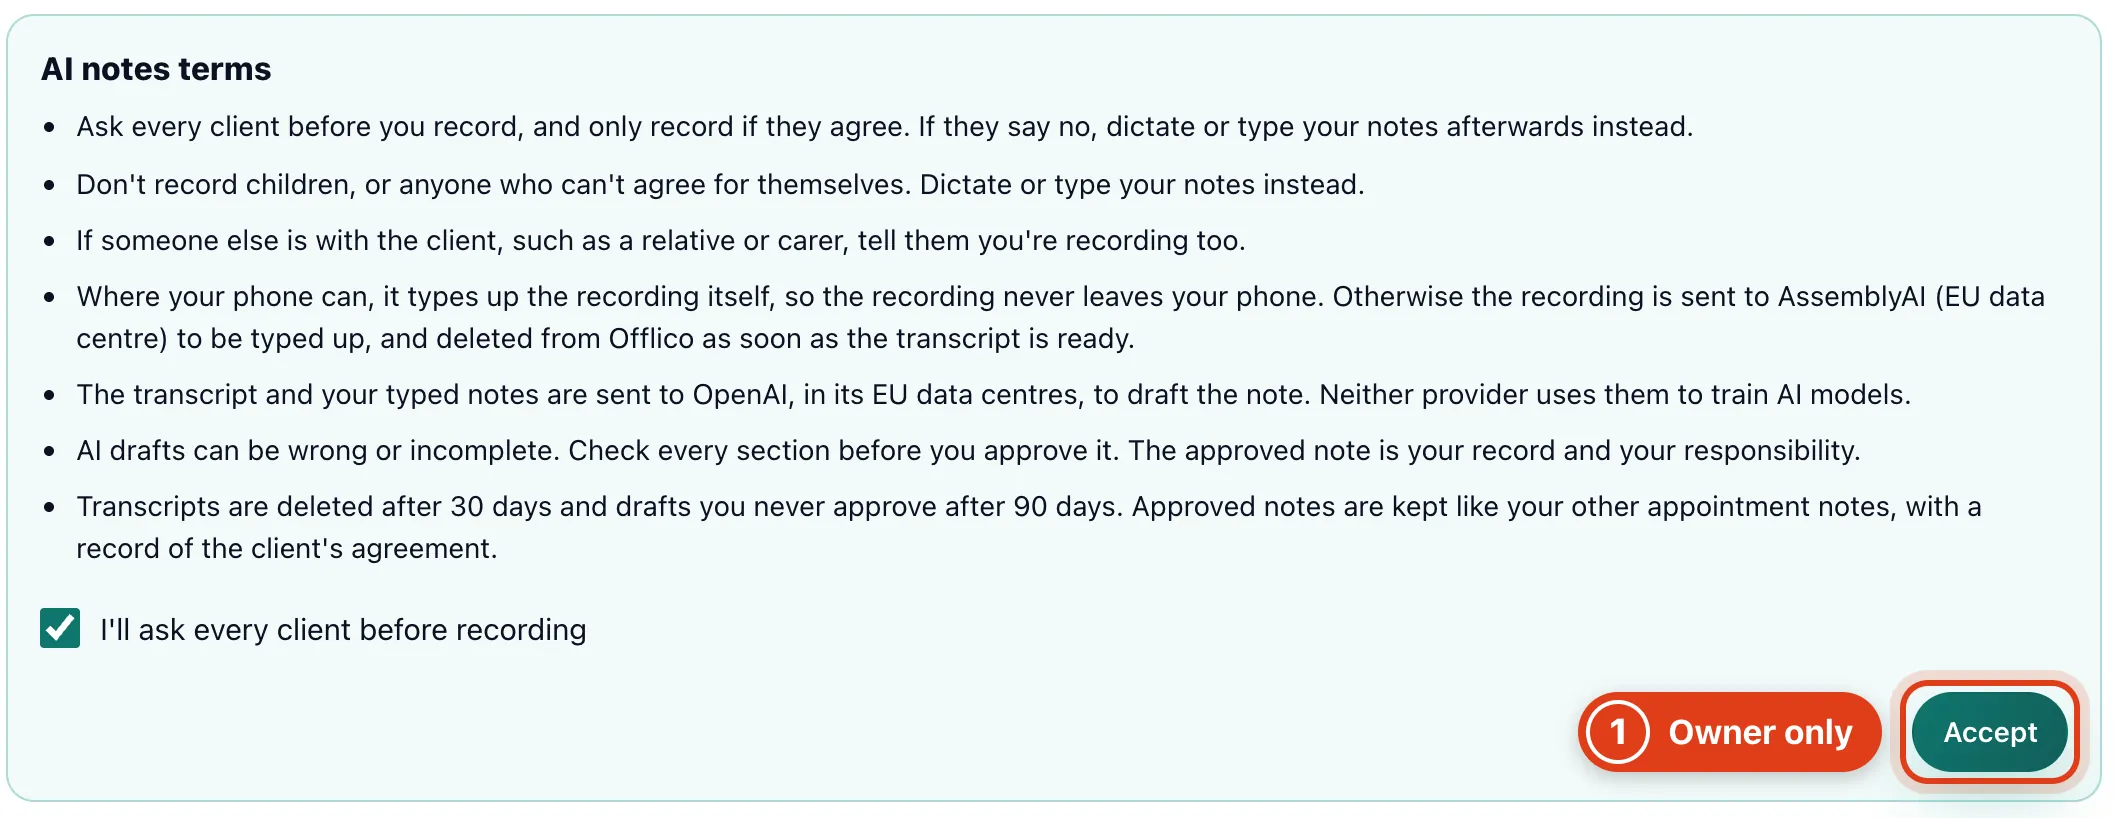
- Accept is for the account owner only, and your team's recordings are paid from your credits. For example, a 25 minute recording Priya Shah makes takes about 20p from your balance.
Step 2 Choose the template for each service
Under Template by service, choose the template each service's notes start with.
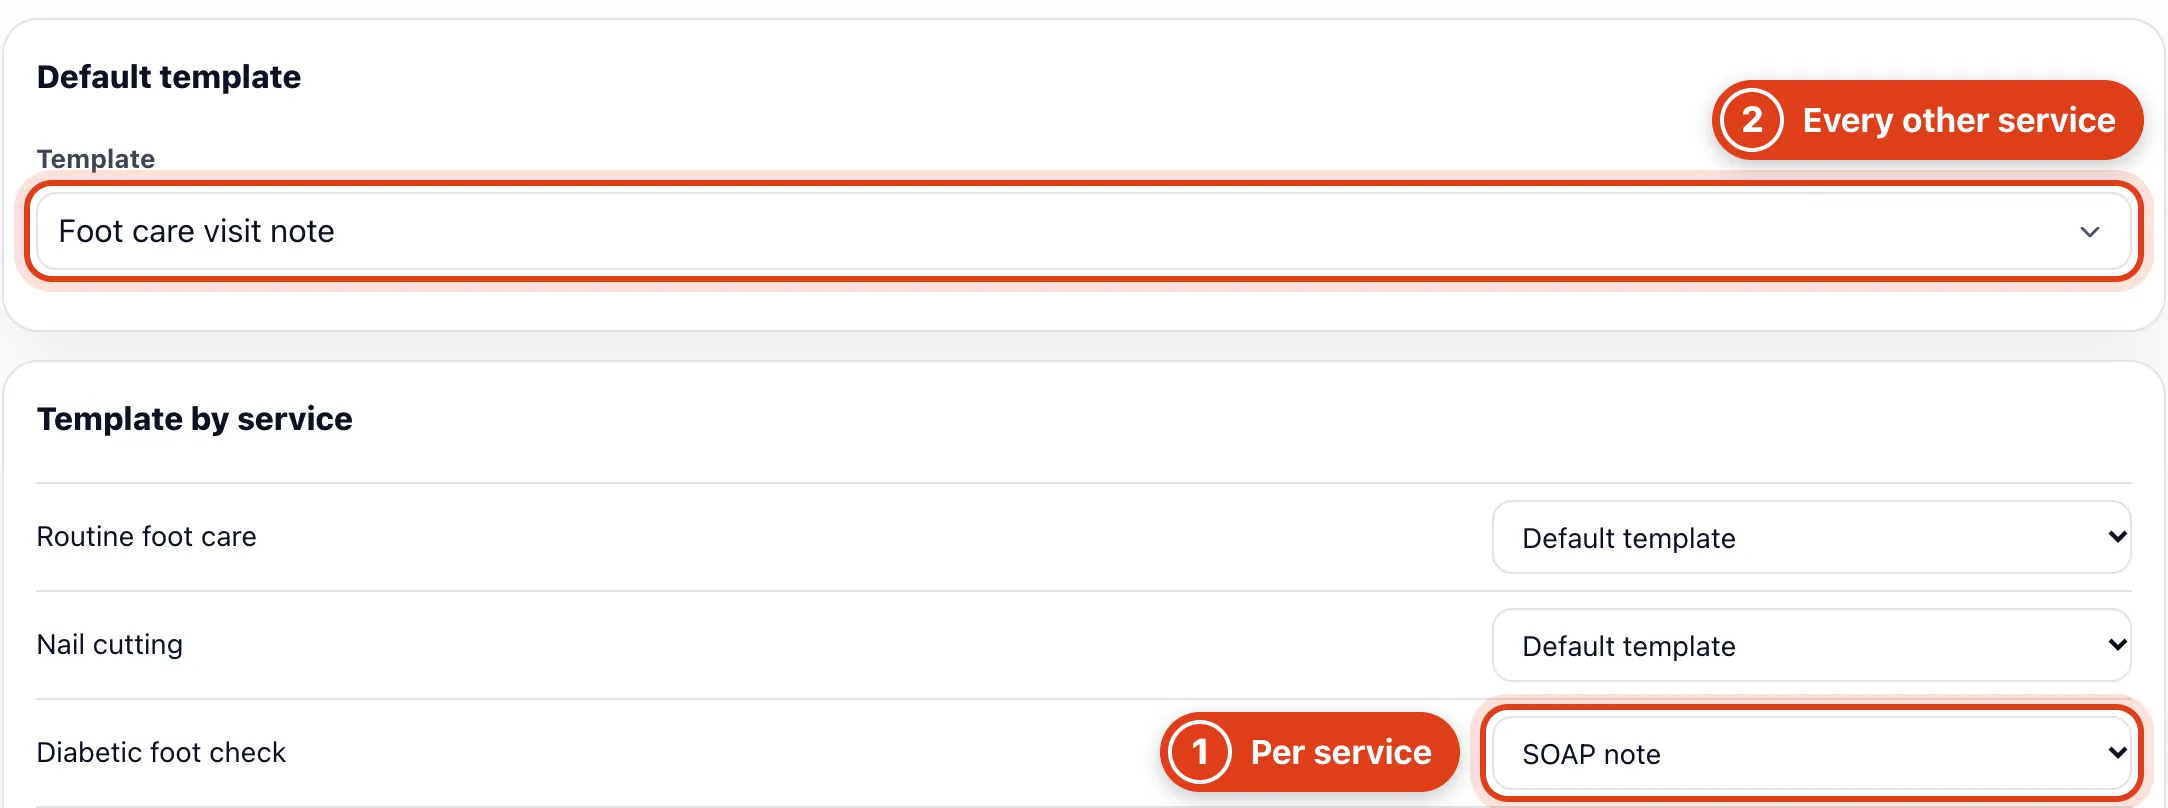
- Template by service sets the sections a visit's note starts with. For example, set Diabetic foot check to SOAP note and every diabetic check opens as a SOAP note.
- Default template is used for every service left on Default template. For example, with Foot care visit note here, a Nail cutting visit opens on it.
Step 3 Set how your notes are written
Choose a Length and a Layout under Your note style.
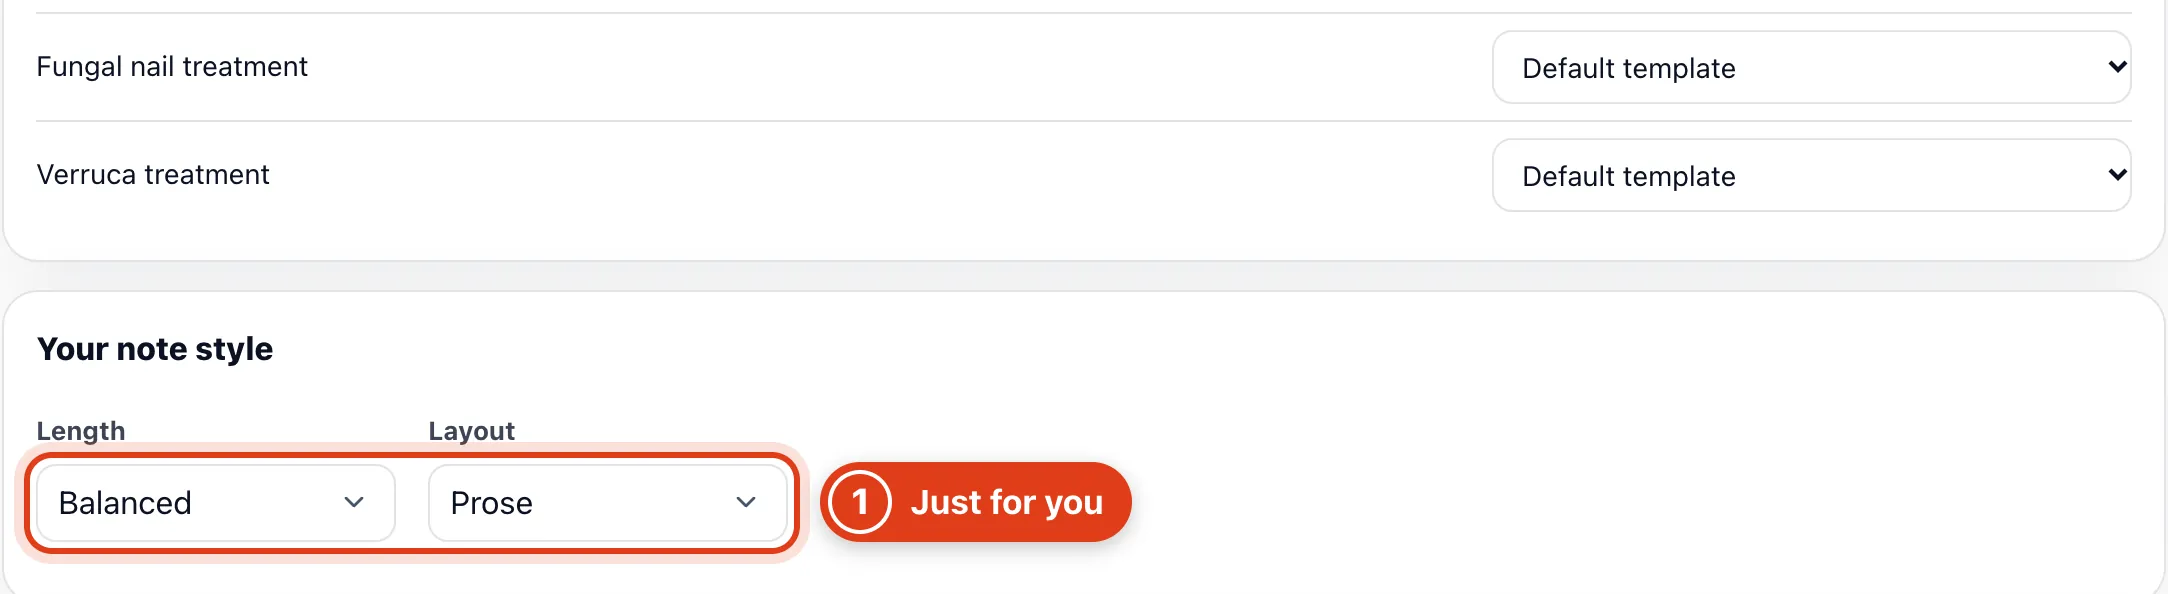
- Your note style applies to your own notes; each team member sets theirs, starting at Balanced and Prose. For example, Concise with Bullets gives short points with the key facts only.
Step 4 Make your own template
Under Templates, describe the note you want and click Create template; to change its sections later, click Edit in Forms.
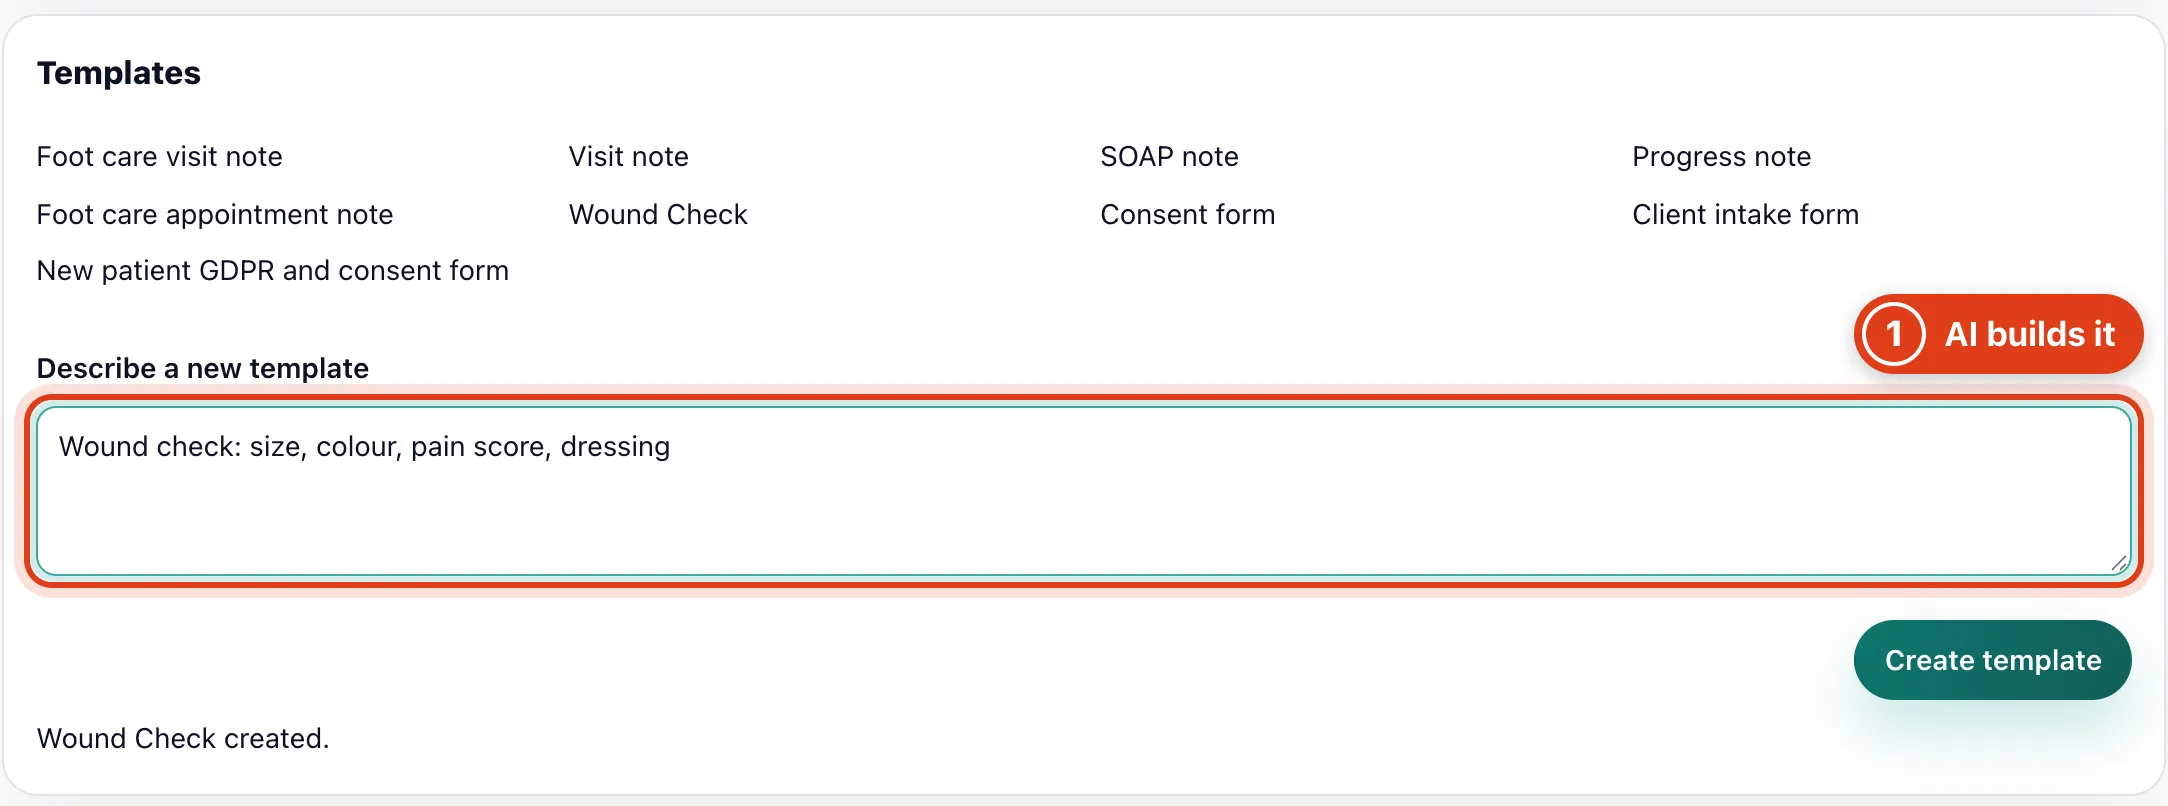
- Create template has AI turn your description into a template, saved with your forms, for under 1p. For example, 'Wound check: size, colour, pain score, dressing' gives those sections.
Part 2 Make the note at the visit
Step 5 Start a note at the visit
Open the visit, click AI note, choose a Mode and click Start. Upload audio takes a recording you made yourself, such as an M4A from your phone.
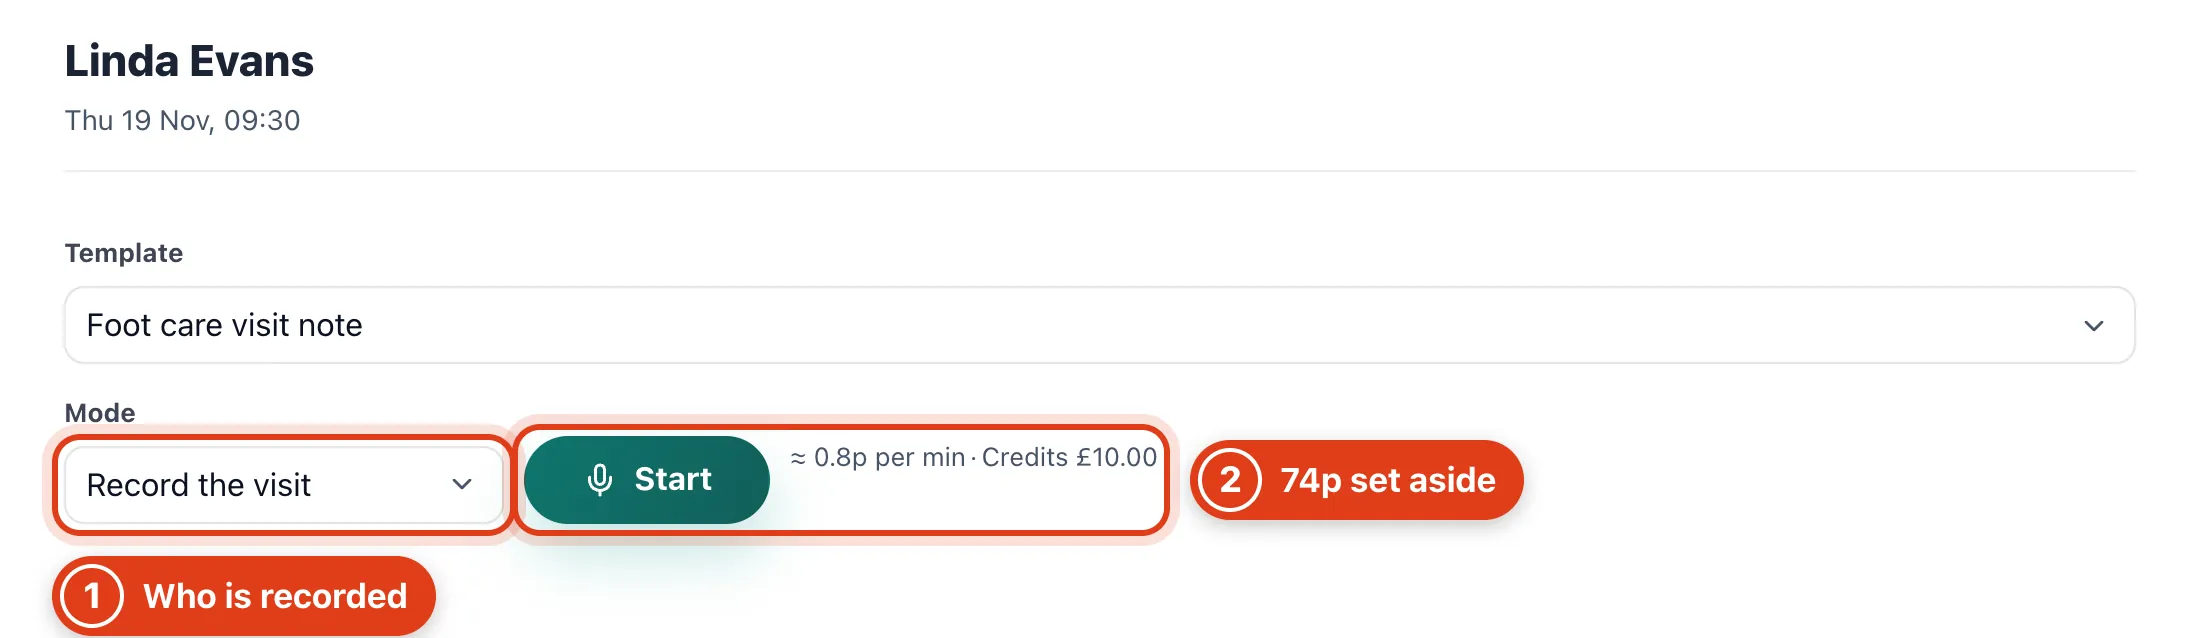
- Dictate in Mode records only your own summary after the visit, so the client isn't asked. For example, use it for a child, whom you must never record.
- Start on Record the visit needs 74p free in credits, enough for the longest recording (90 minutes); only what you record is charged. For example, a 25 minute visit costs about 20p.
Step 6 Confirm the client agreed
Ask the client, then click Yes, they agreed.
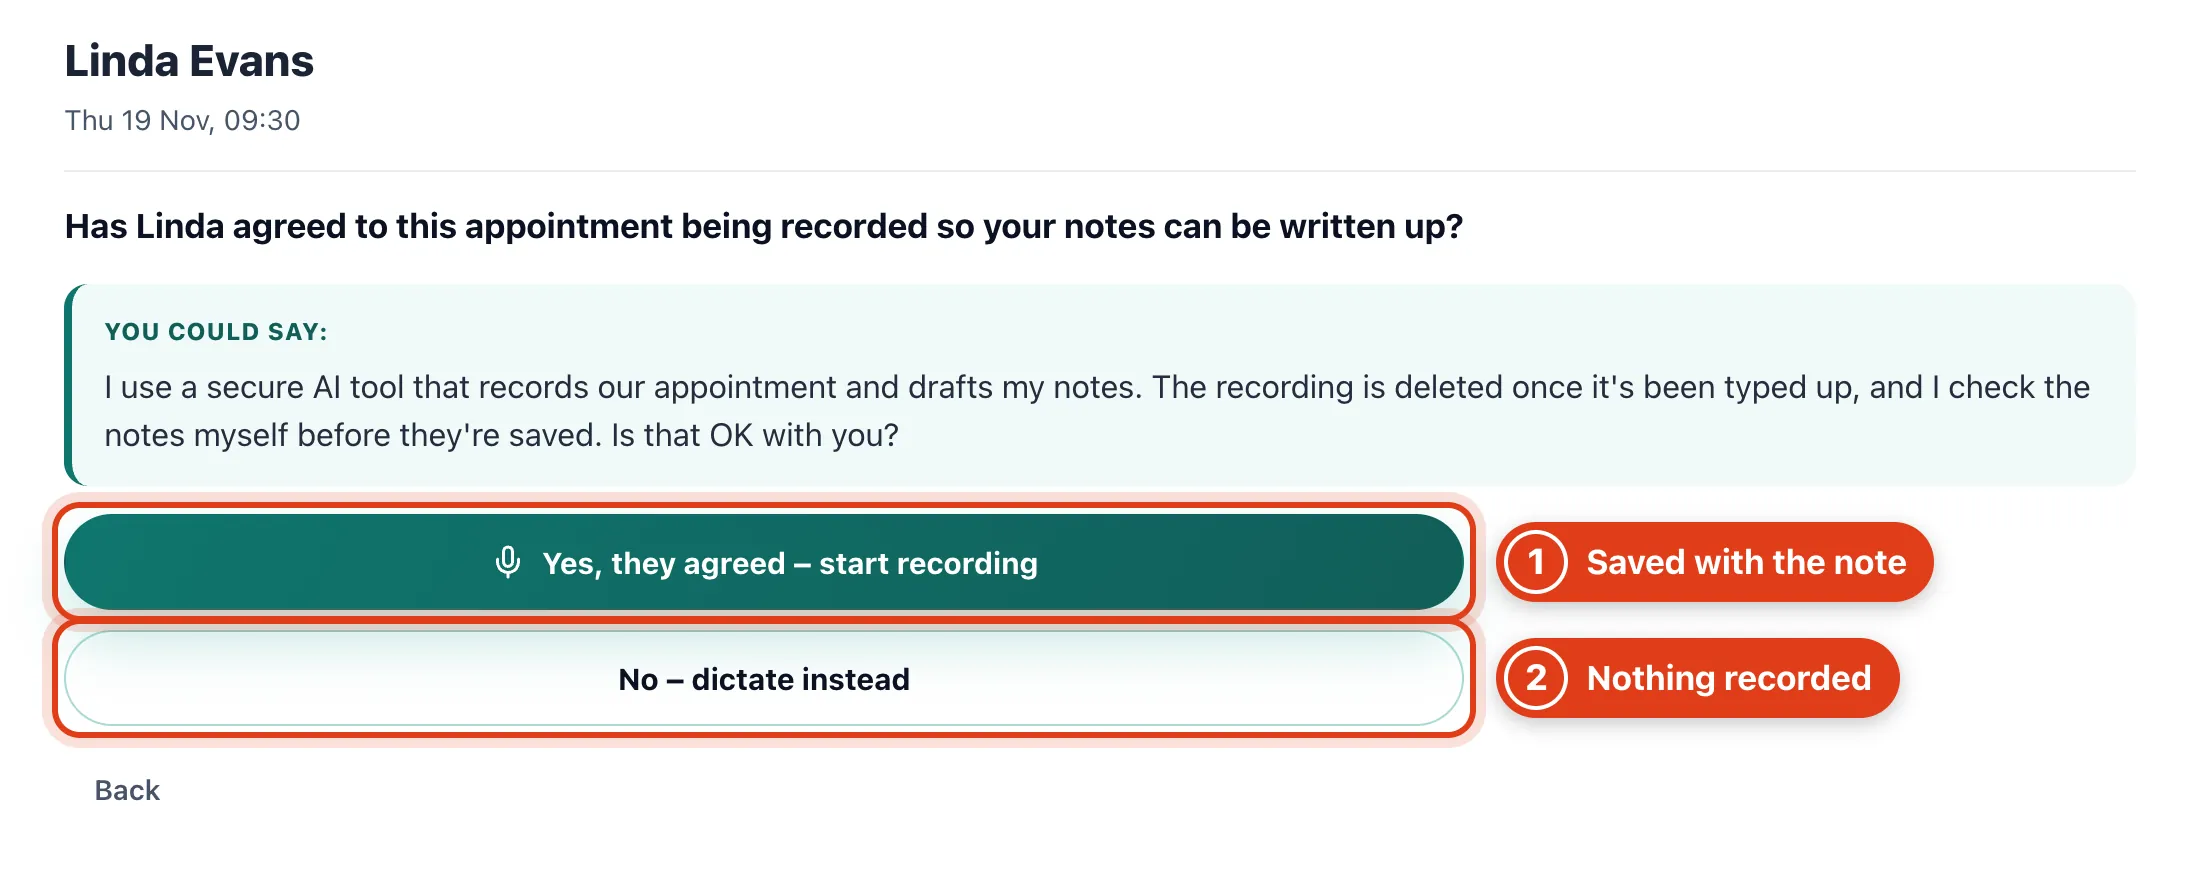
- Yes, they agreed starts recording, and the saved note says who confirmed it and when. For example: 'The client agreed to the recording (verbal agreement, confirmed by Sarah Bell at 10:42 on 17 Nov 2026).'
- No records nothing and takes Record the visit off this note. For example, if Linda says no, Dictate is chosen so you can sum up after she leaves.
Step 7 Record the visit
Talk as you work; add anything you don't say out loud under Notes, then click Stop & write note.
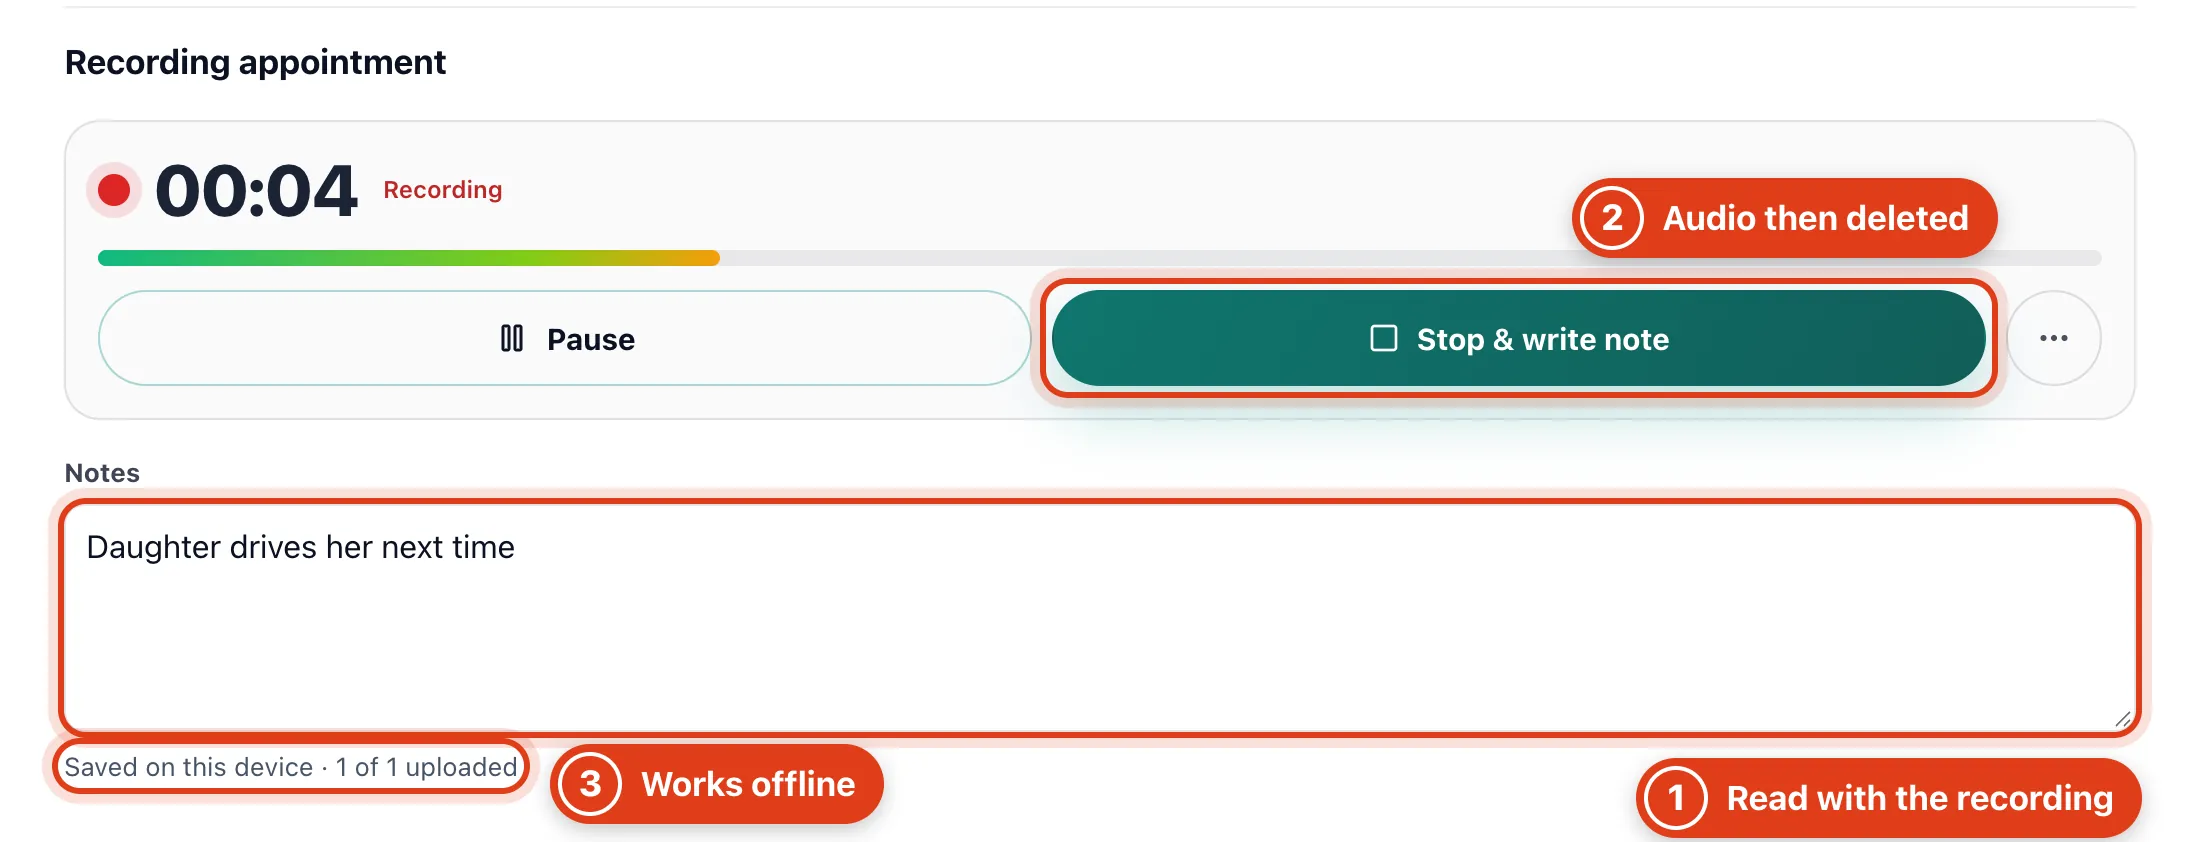
- Notes are read with the recording when the draft is written. For example, type 'Daughter drives her next time' and it can go in the note though nobody said it.
- Stop & write note sends the audio to be typed up, then deletes it; a recording stops by itself at 90 minutes. For example, one started at 09:30 stops at 11:00.
- Saved on this device means the recording is safe on this computer or phone. For example, if the signal drops at Linda's house, recording goes on and uploads once you're back online.
Part 3 Check and save the draft
Step 8 Check the draft
When the draft is ready, check each section, then click Save to record.
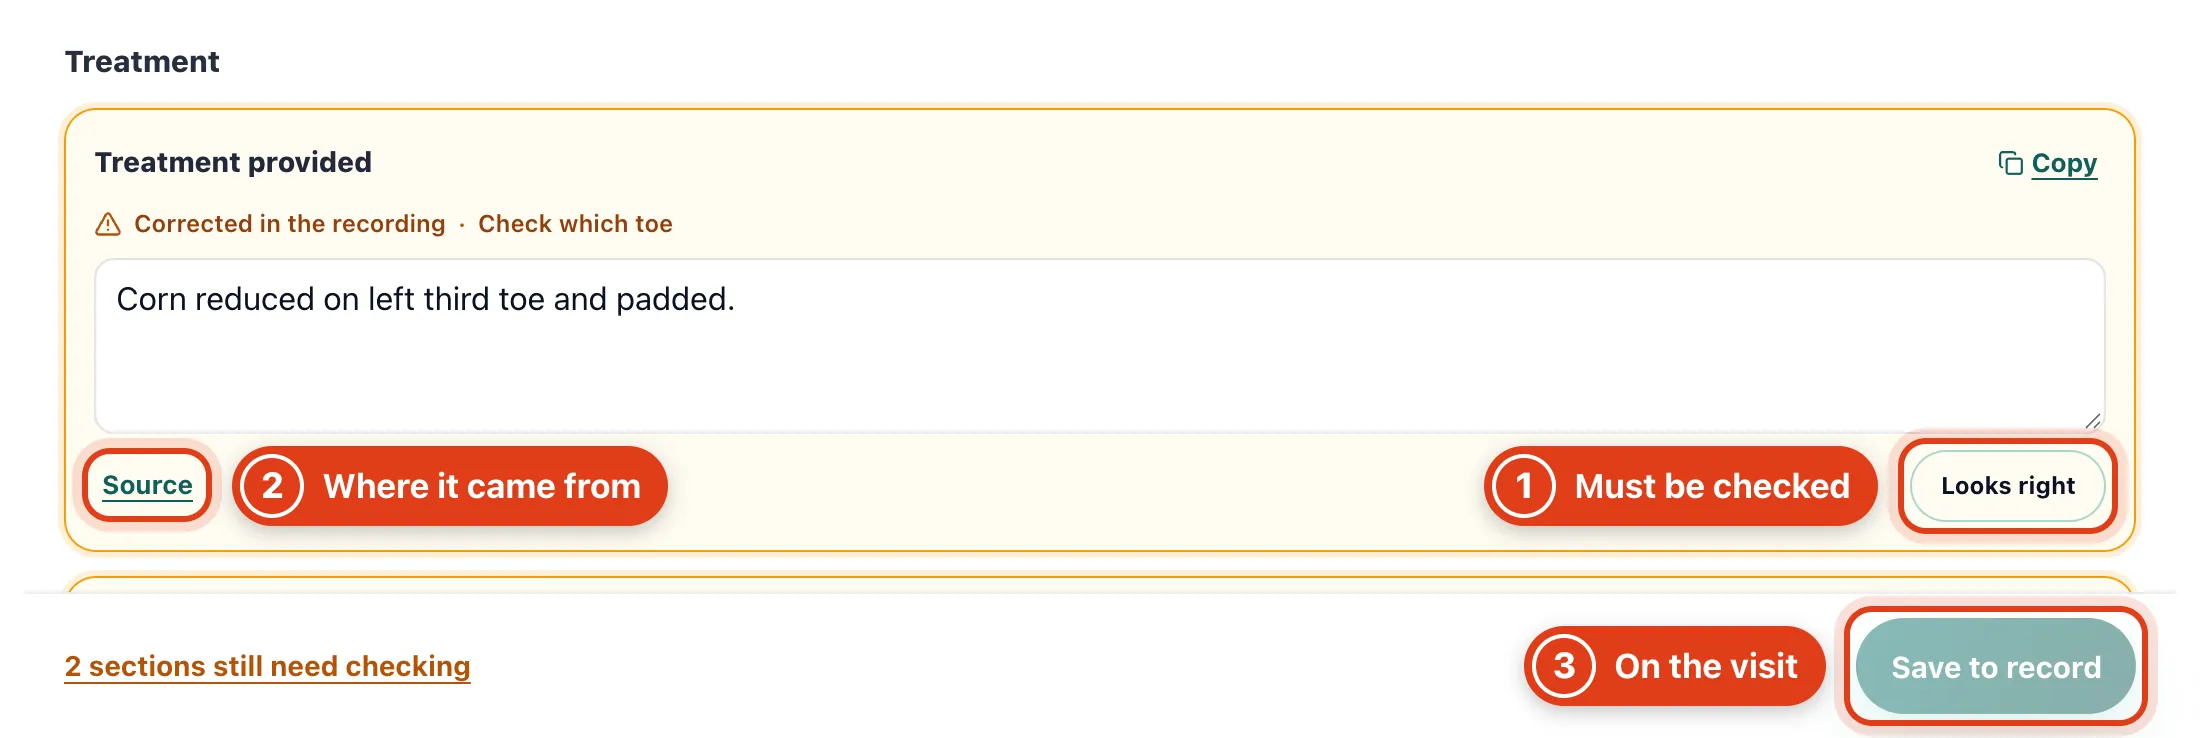
- Looks right clears a flag once you've checked that section; you can't save while one is left. For example, 'Check which toe' asks you to confirm the toe it names.
- Source quotes the words from the recording behind a section. For example, under Treatment provided it shows what you said about the corn on Linda's toe.
- Save to record saves it as a note on the visit, ending with how it was written and who approved it. For example: '... Checked and approved by Sarah Bell at 10:55 on 17 Nov 2026.'
Step 9 Change how the draft is written
Pick another Style above the note. Resume records more for the same note: the new audio is added and your edits stay.
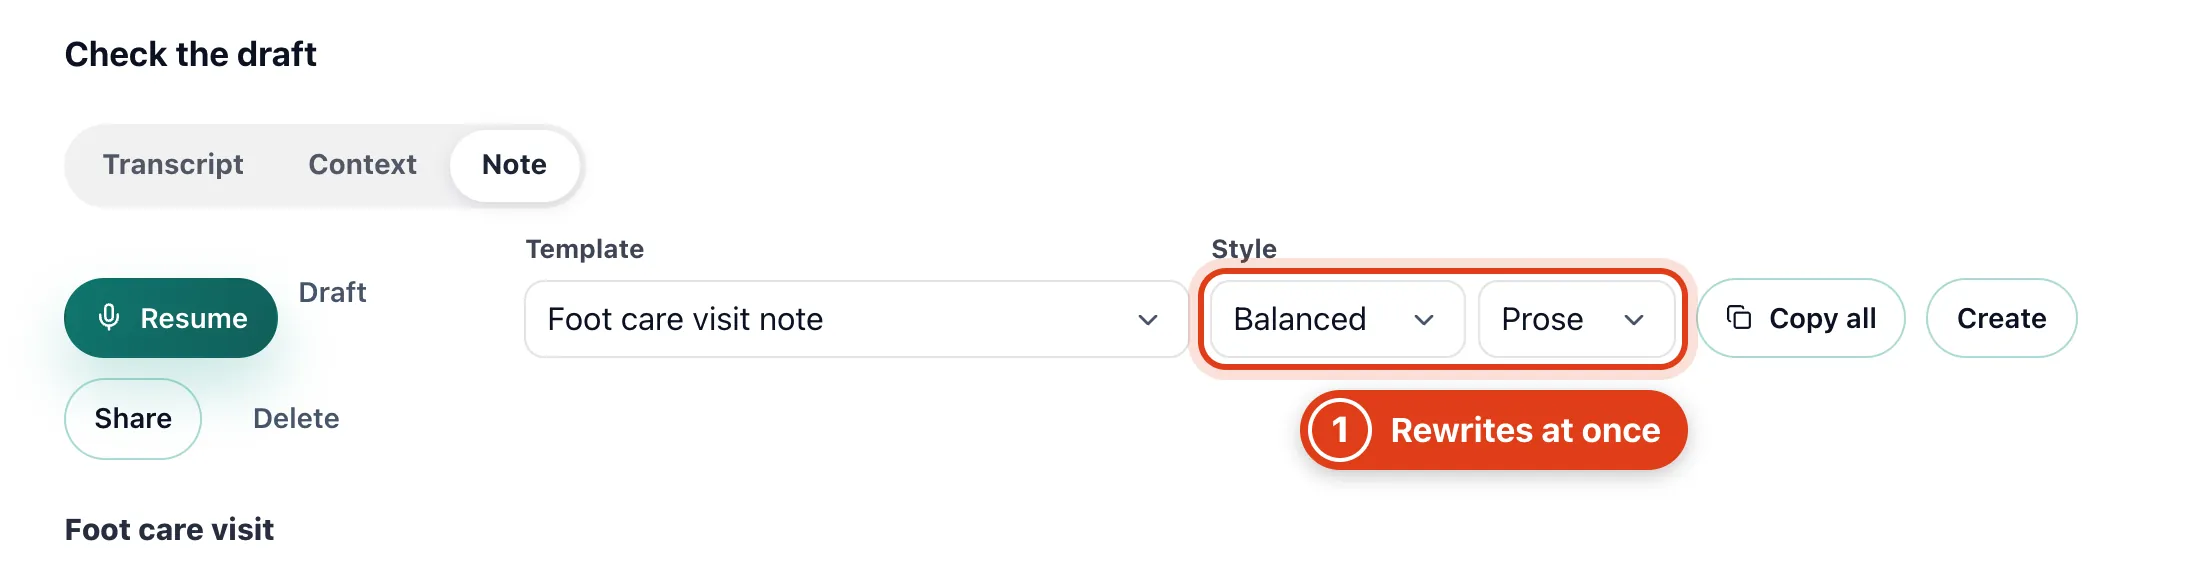
- Style rewrites the draft at once from the same recording, for under 1p. For example, switch Prose to Bullets to turn each section into short points.
Step 10 Ask AI for changes
Under the note, type what to change in Ask AI and click Send. Find lists medicines, allergies and conditions to add to the client's record, and follow ups to turn into a task, letter or booking.
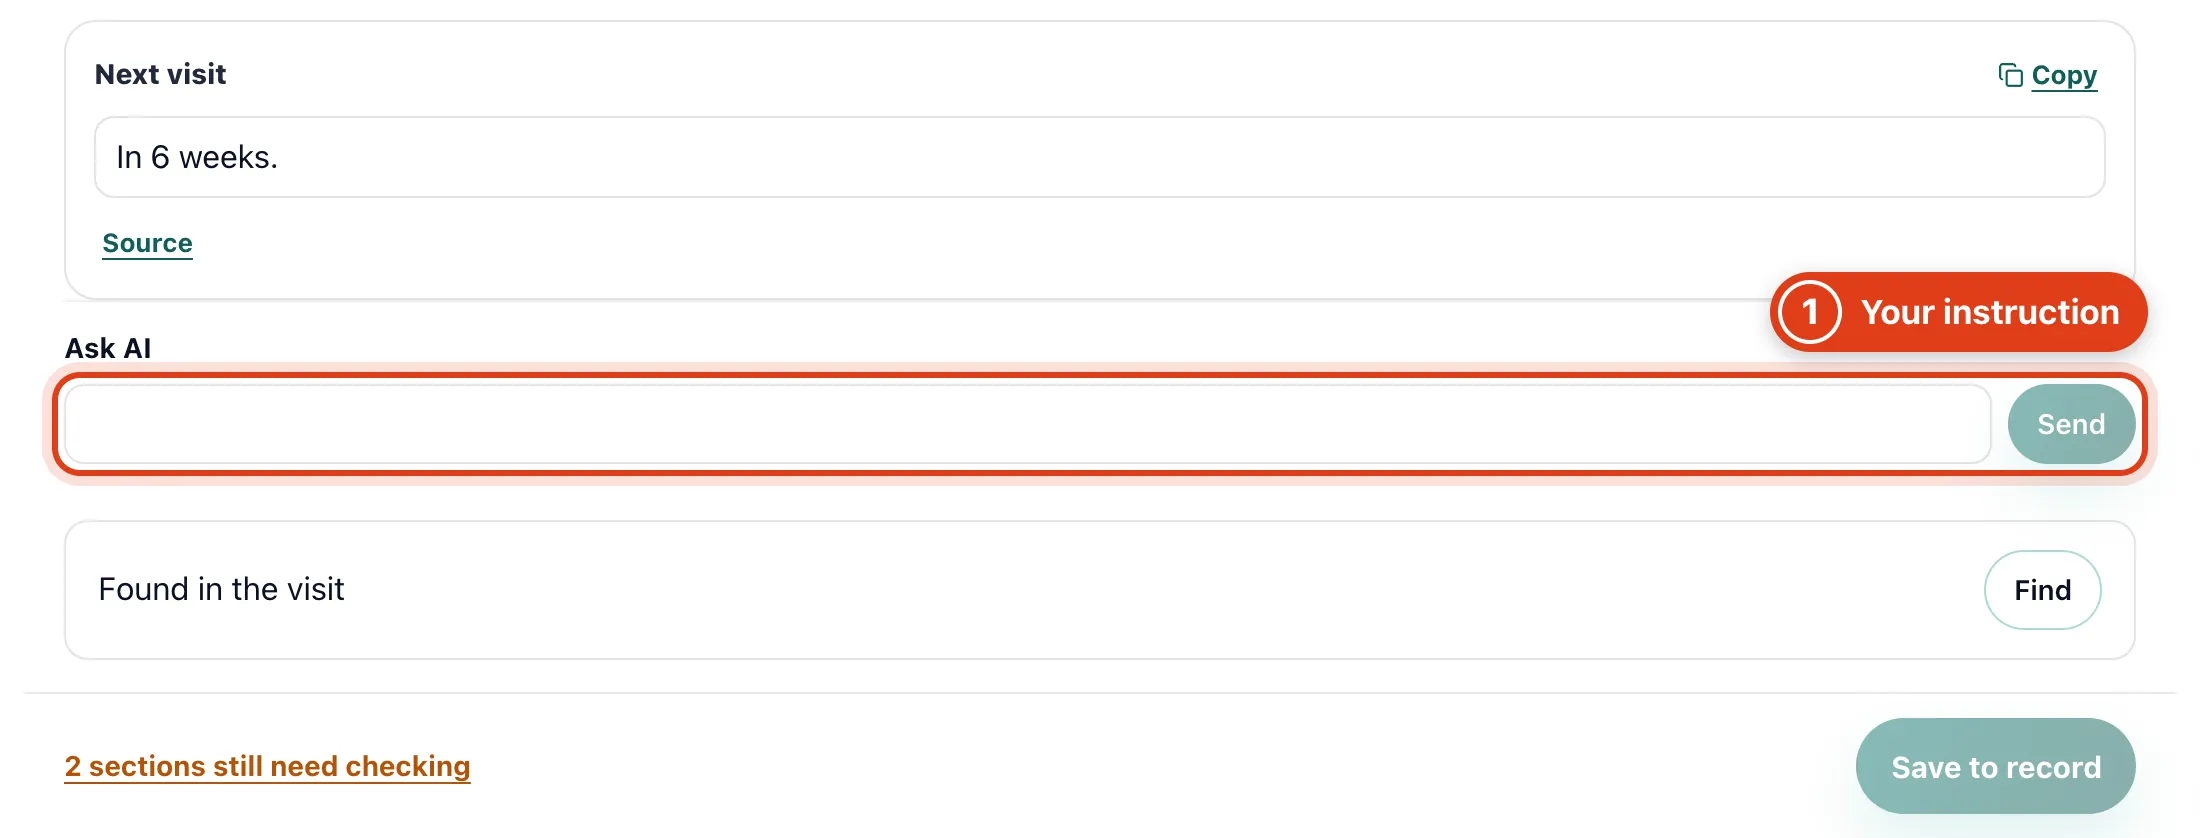
- Ask AI rewrites the draft the way you ask, for under 1p. For example, ask 'Put the advice for Linda in one short line' and the draft comes back that way.
Step 11 Write a letter from the note
Click Create for a letter or task written from the note; Share prints the note or exports a PDF.
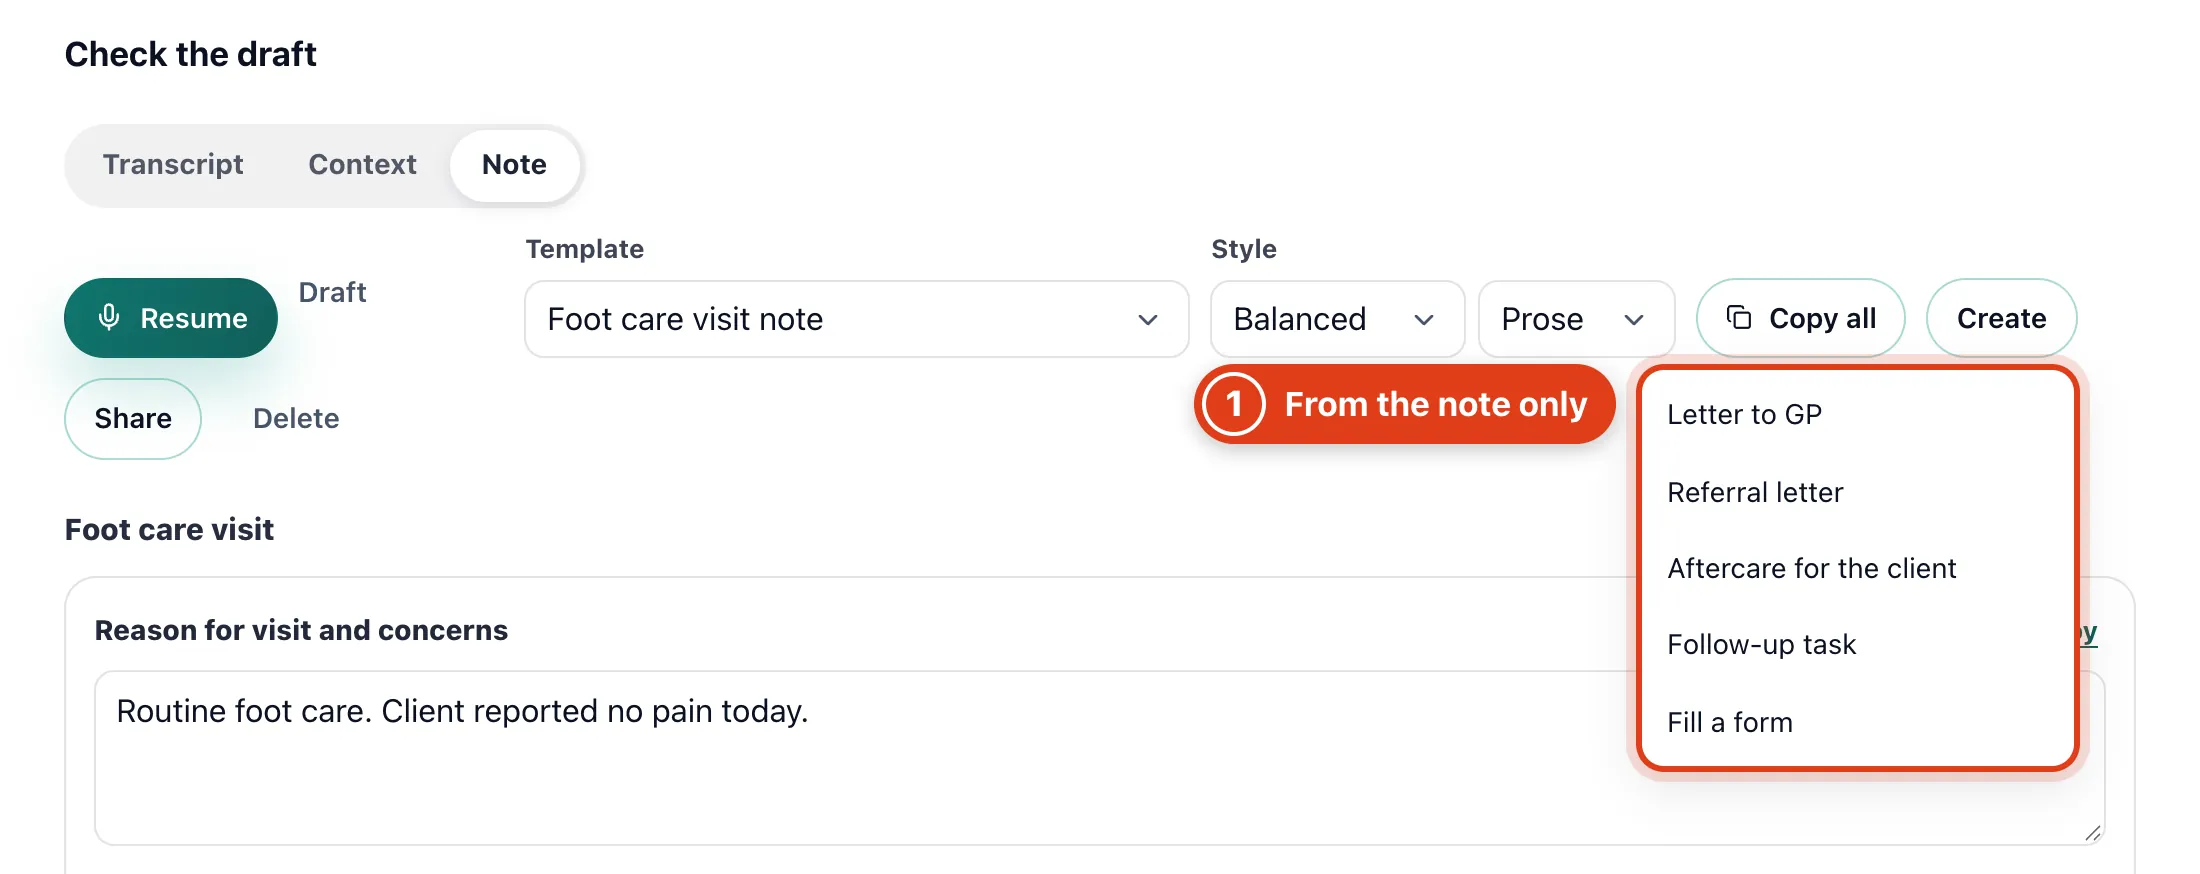
- Create writes only from your checked note, leaving gaps such as [GP name] to fill. For example, Letter to GP drafts a letter about Linda's visit for under 1p.
Step 12 Delete the transcript early
Once the note is saved, click Delete transcript now to remove the transcript before it goes by itself.
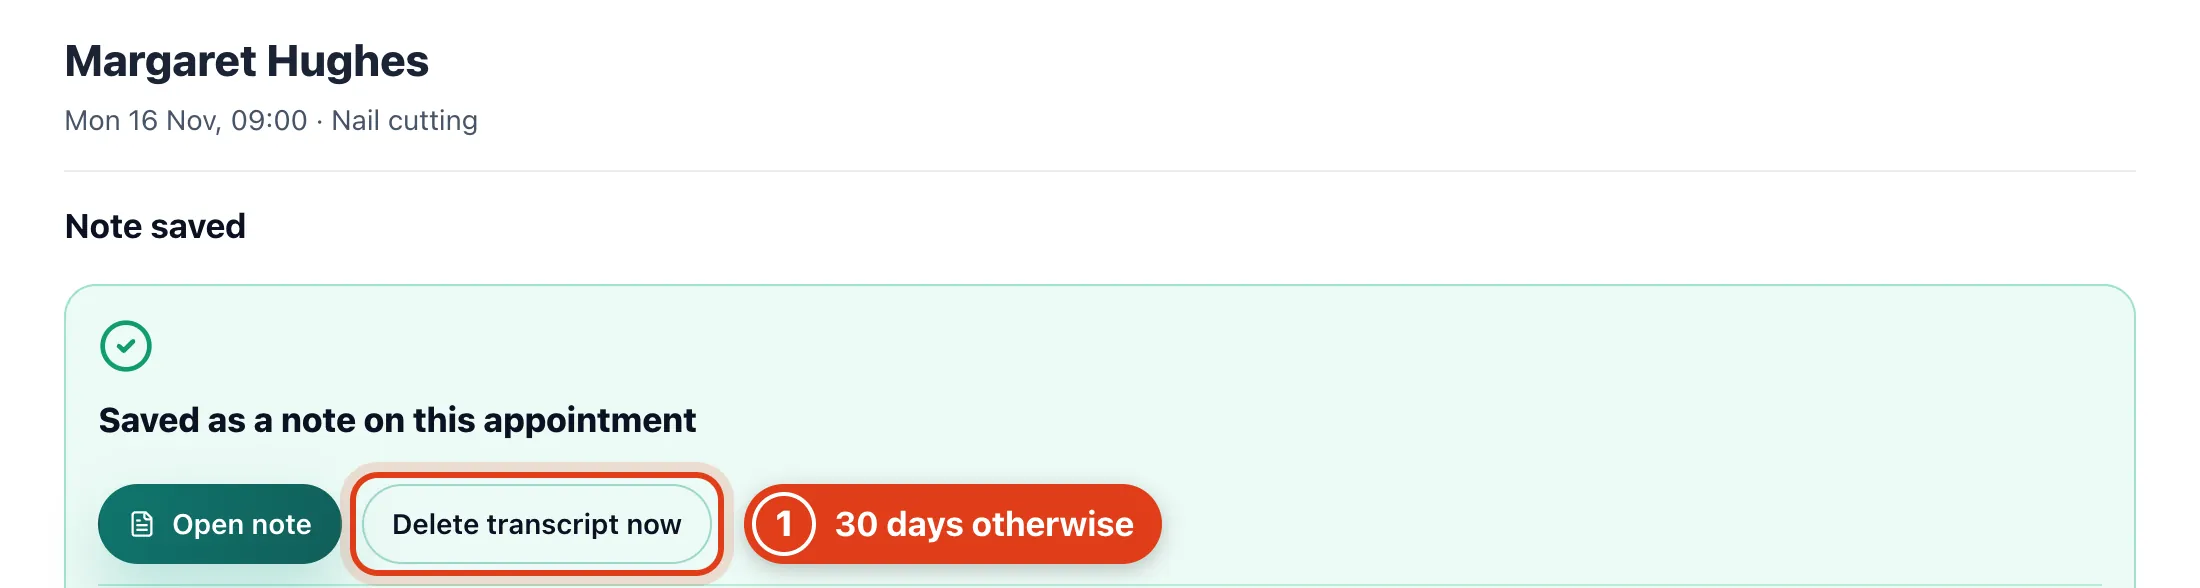
- Delete transcript now removes it at once; otherwise it goes 30 days after the note was started, and the saved note stays. For example, a note started on 17 November loses it on 17 December.
Step 13 Find notes you haven't saved
Go to Forms › AI notes; switch Team to Mine to see only yours.
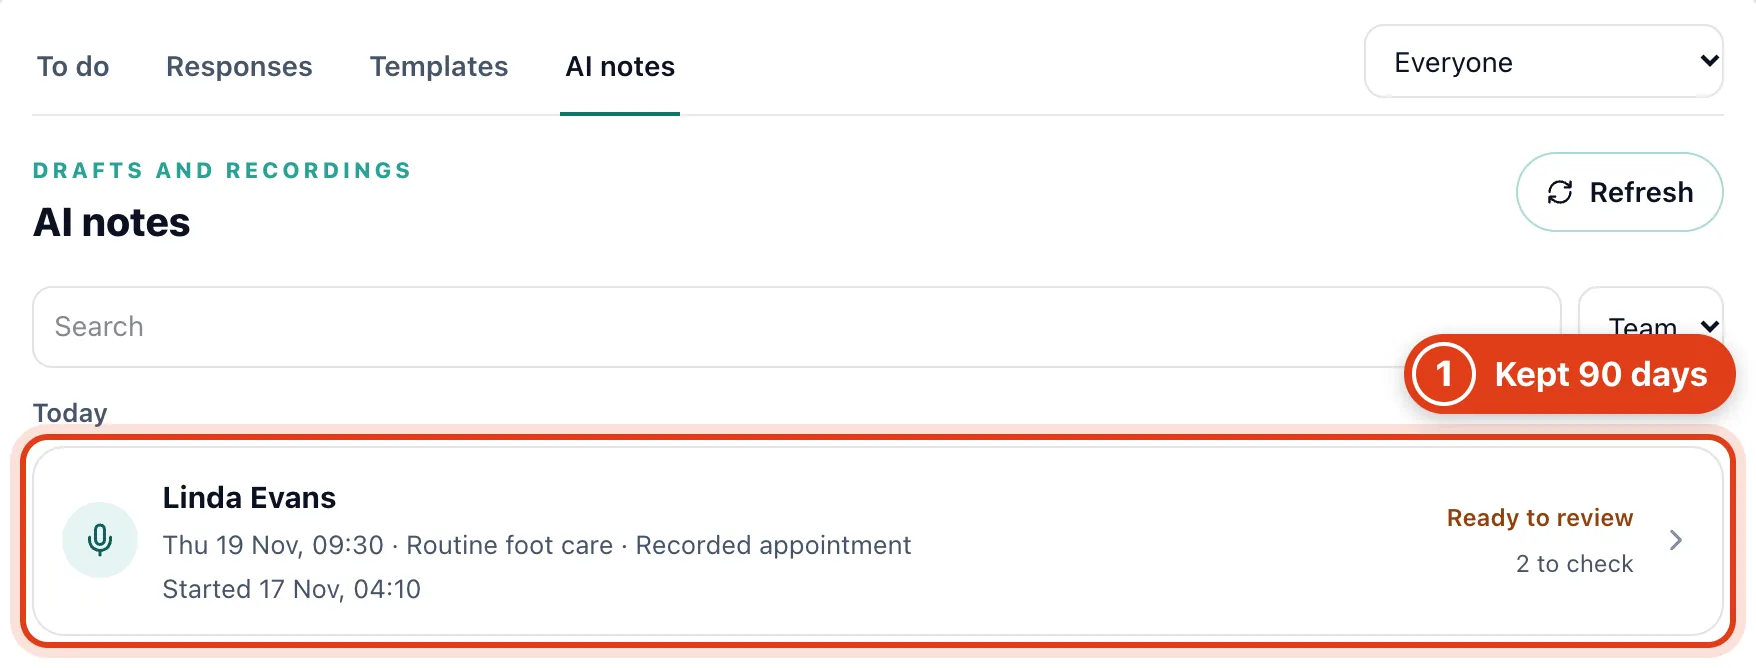
- Drafts and recordings keeps a draft you never save for 90 days after it was started. For example, a draft started on 17 November is deleted on 15 February.