
How to change your calendar view and sync it
Choose what your calendar shows and sync it.
Updated 16 November 2026
Part 1 Move around and choose what you see
Step 1 Choose how much you see
Go to Calendar.
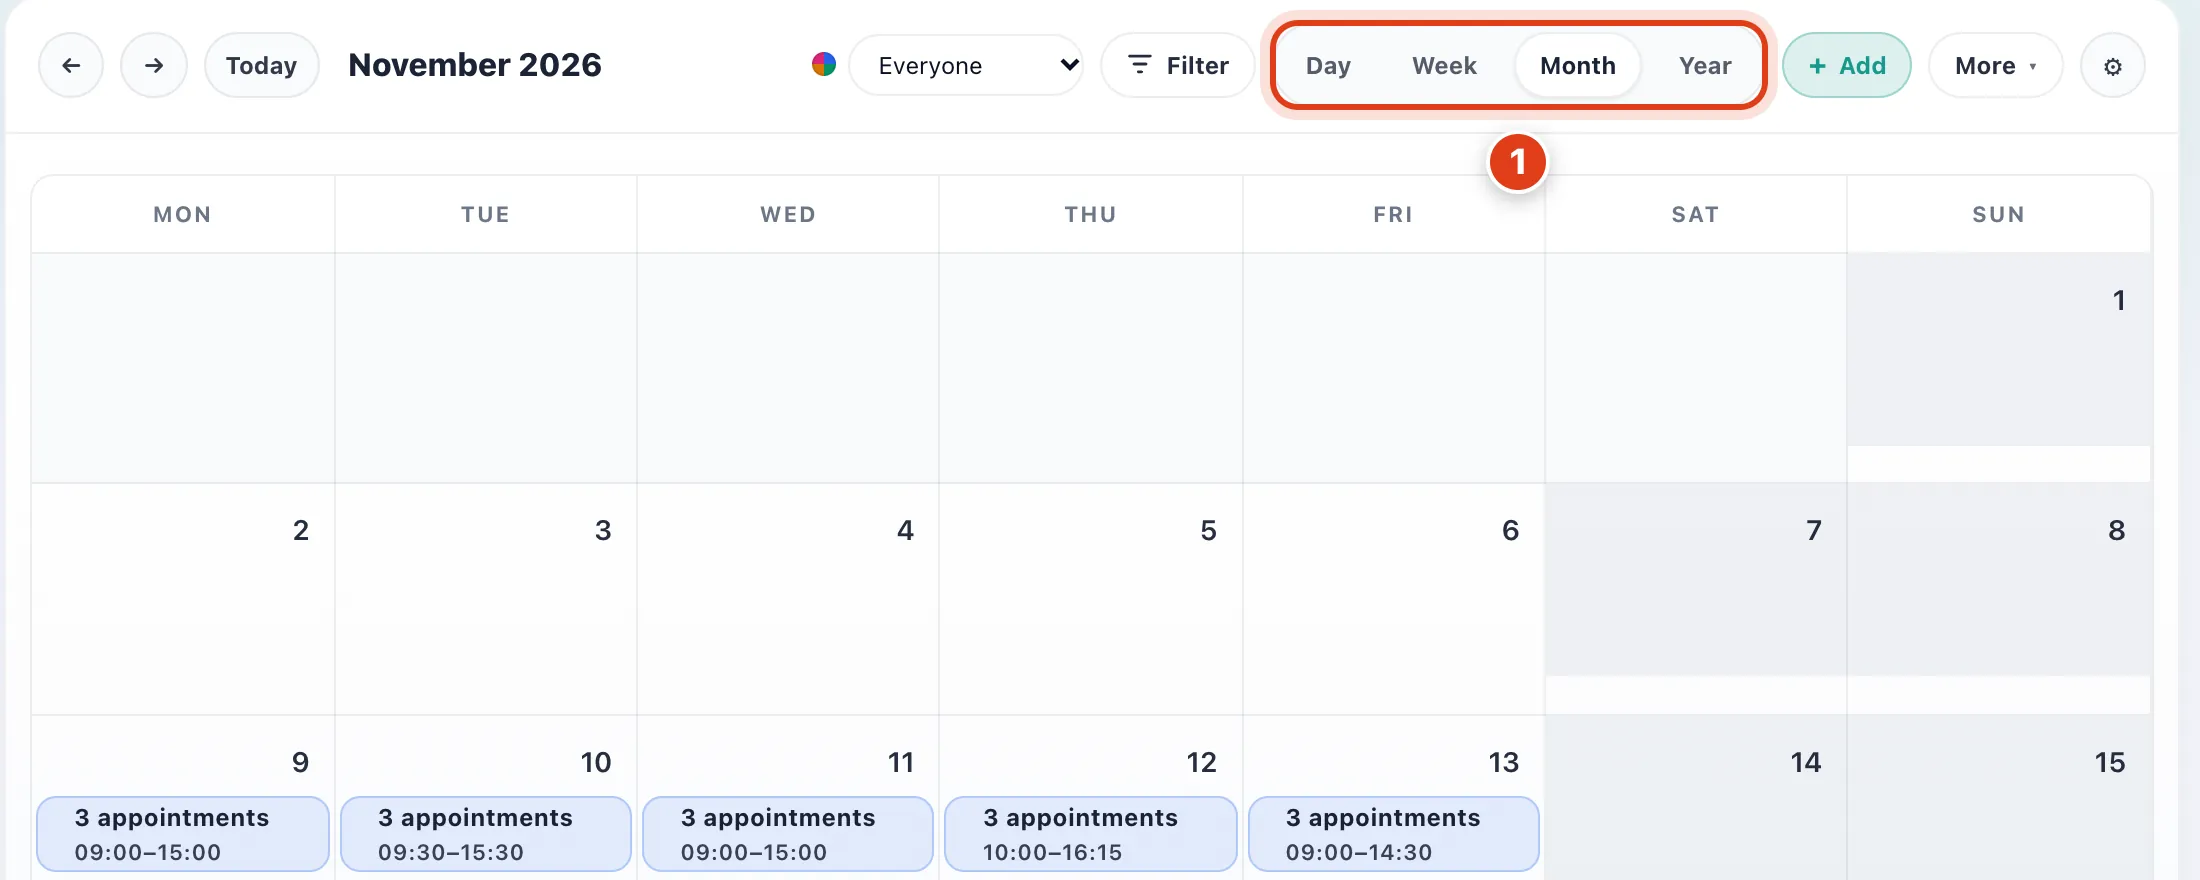
- In Month, each day shows its count and its first to last time, and a click opens that day: for example, 3 appointments from 09:00 to 15:00 opens a day of three visits.
Step 2 See one person's or a group's visits
With a team, pick whose visits the calendar shows in Whose appointments.
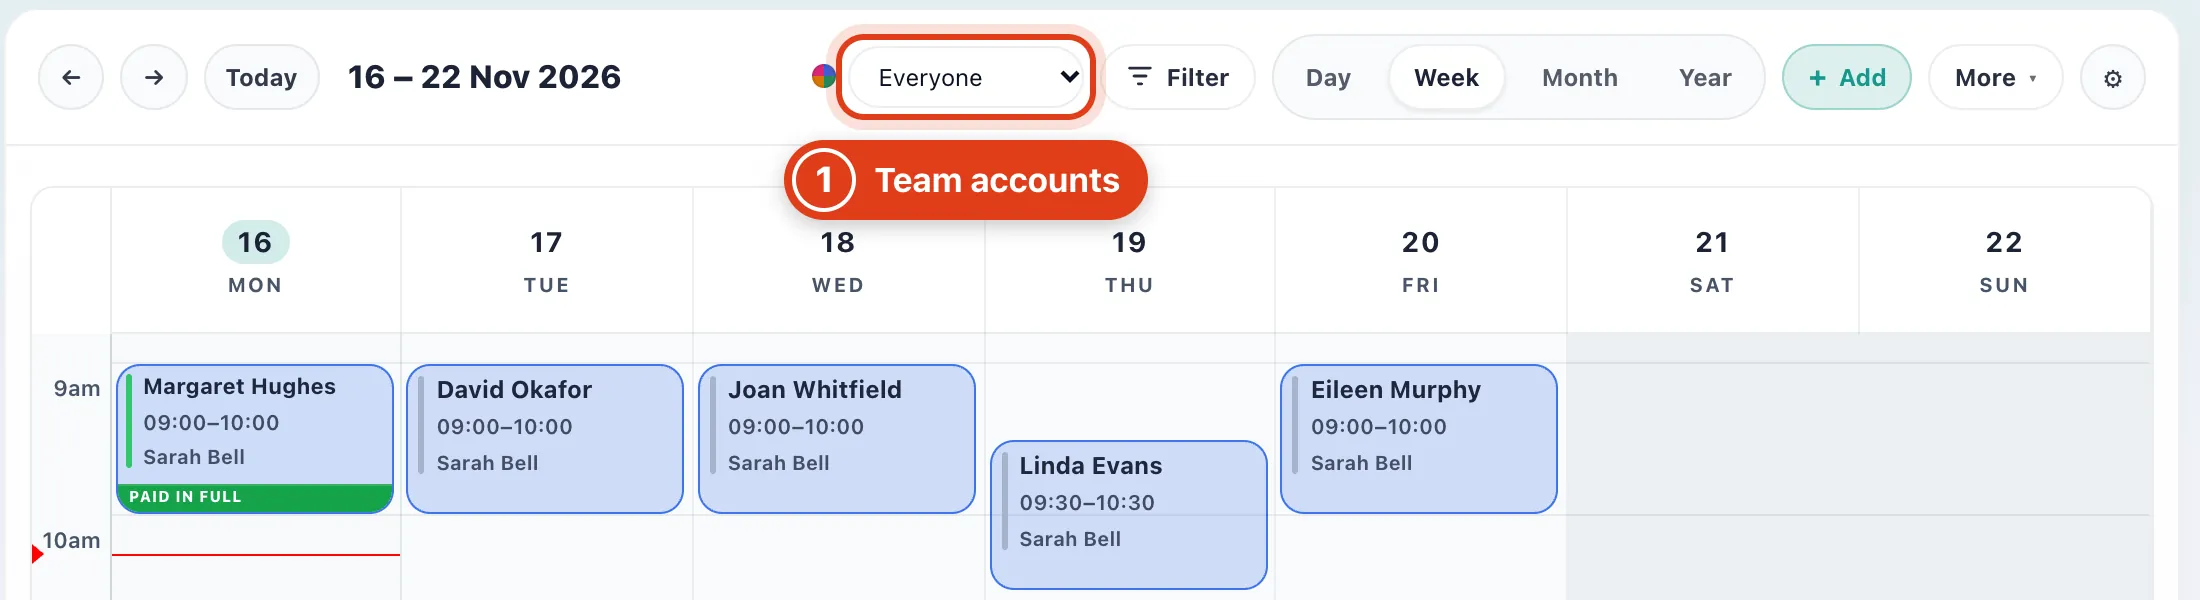
- Whose appointments shows everyone, a group or one person: for example, Practitioner shows everyone with that role, and Unassigned the visits nobody is booked with yet.
Step 3 Filter the calendar
Click Filter and tick what you want to see. Your ticks stay on this computer until you change them.
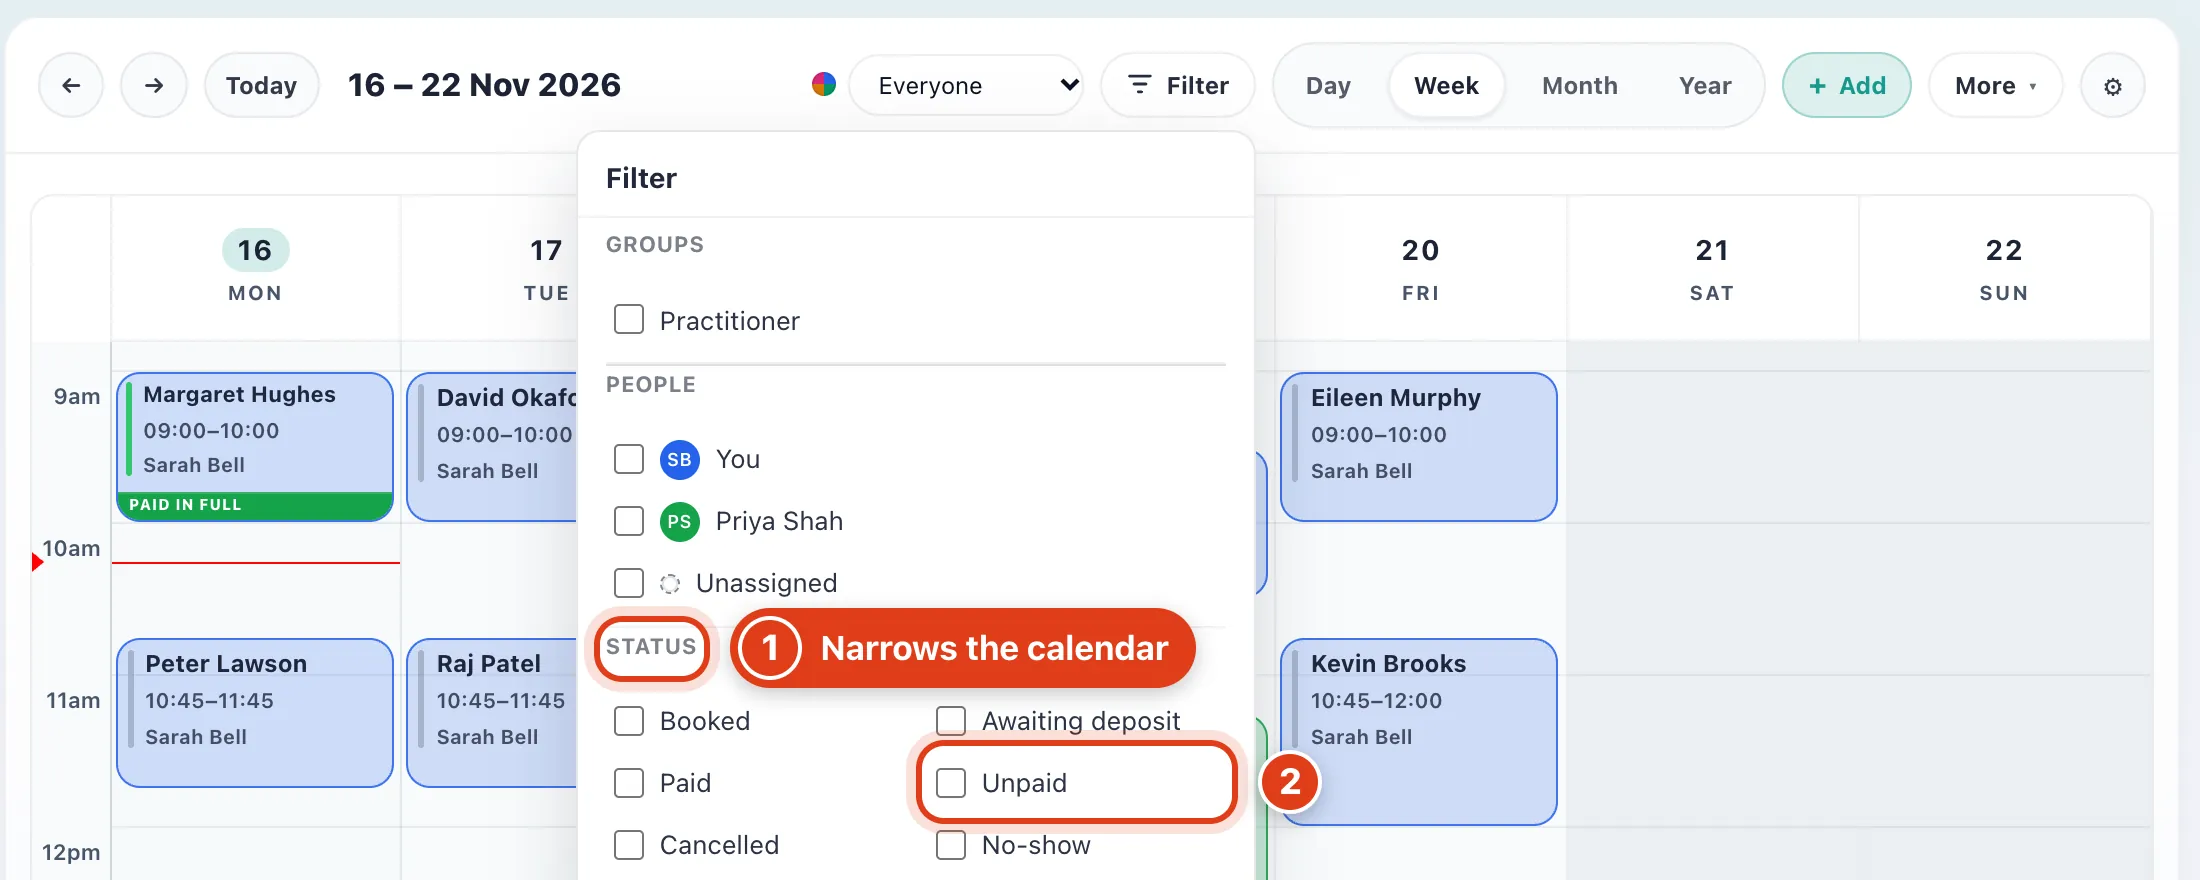
- Ticks under one heading add up and headings narrow each other: for example, Unpaid with Routine foot care shows only routine foot care visits that aren't paid yet.
- Unpaid includes part paid visits: for example, a £42 visit with £20 paid stays in it until the last £22 is paid.
Part 2 Jump ahead and other views
Step 4 Jump ahead or change the view
Click More to go to a date, skip ahead or pick another view: Timeline in Other views lists one day's visits in order with their addresses. Share here goes to Calendar sharing (step 7).
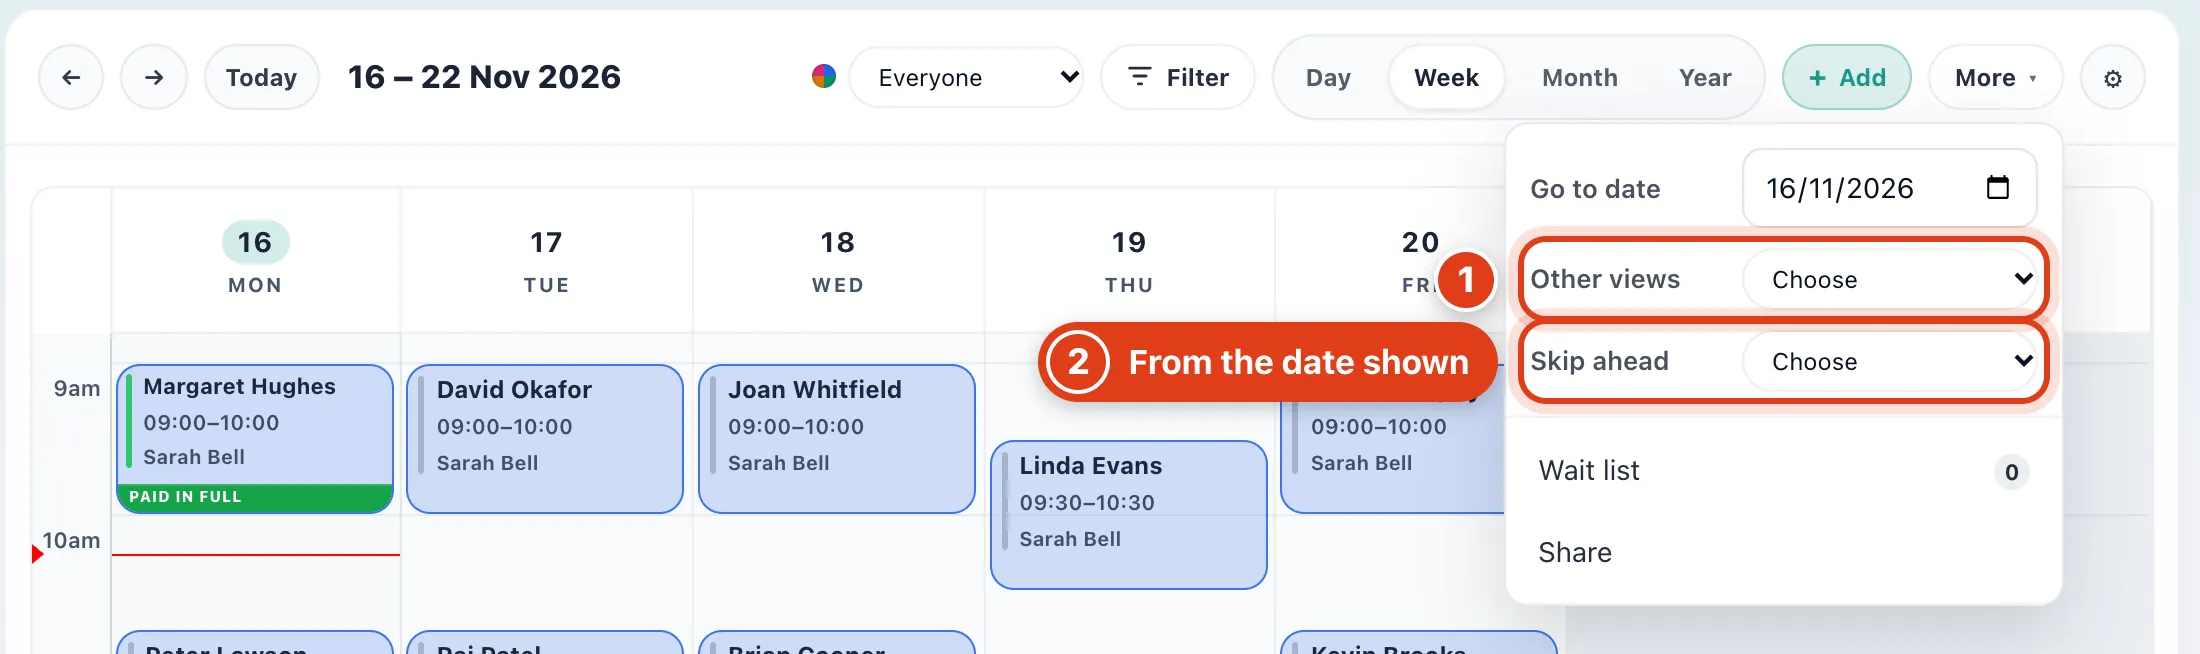
- Work week in Other views hides the days you don't work: for example, with Monday to Friday hours, Saturday and Sunday go; 3 days shows the date you're on and the next two.
- Skip ahead moves on from the date shown: for example, from the week of 16 November, 6 weeks opens the week of 28 December, the time to book a six weekly client again.
Part 3 Set how the calendar looks
Step 5 Choose the hours, colours and week
Click the gear beside More to change how the calendar looks for you, in the iPhone and Android apps too. Settings › Calendar has the same options.
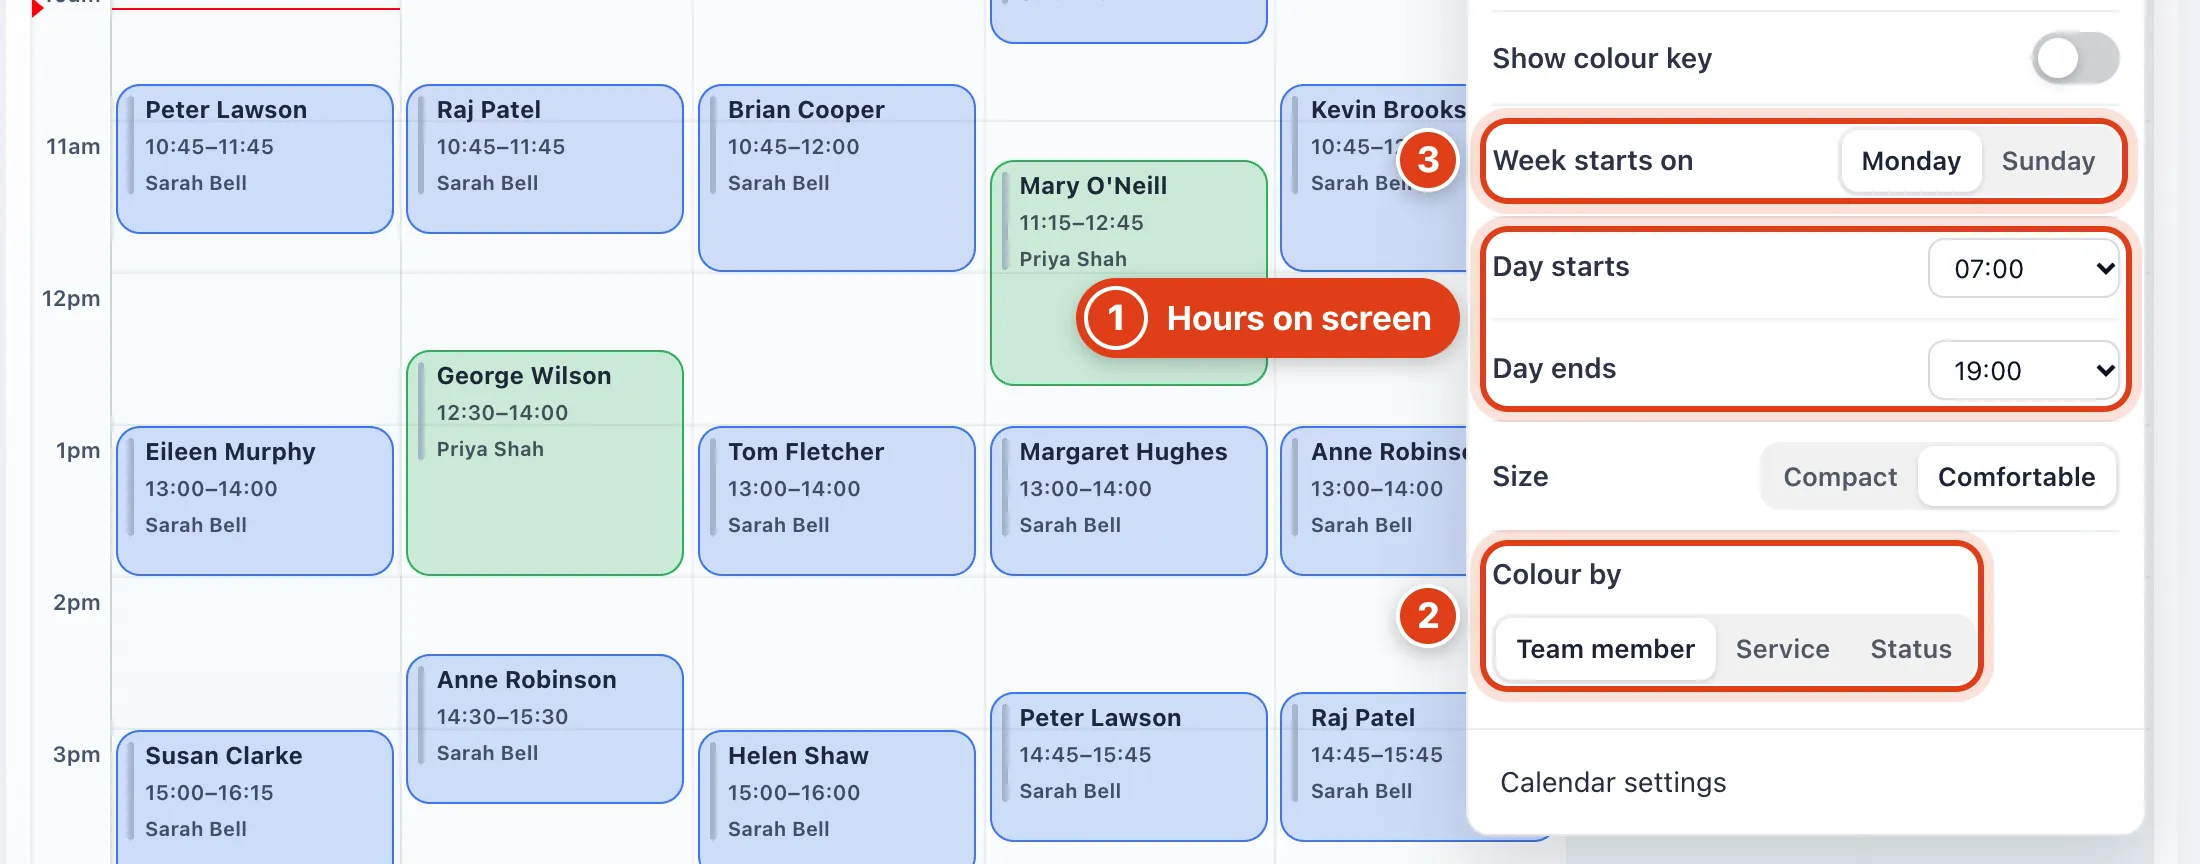
- Day starts and Day ends begin an hour either side of your working hours: for example, with hours 08:30 to 17:30, the calendar shows 07:00 to 19:00.
- Colour by Status colours visits green when confirmed, amber when not yet confirmed, blue when completed, red for a no show and grey when cancelled.
- Week starts on is a business setting, so it changes the week for your whole team: for example, set to Sunday, Priya Shah's Week, Month and Year start on Sunday too.
Part 4 Sync and share
Step 6 Add your visits to Google, Apple or Outlook
Go to Settings › Calendar feed and click the button for your calendar app; notes, contact and health details never go in it, and cancelled visits drop out. To add it anywhere else, Copy link and paste it as a subscription.
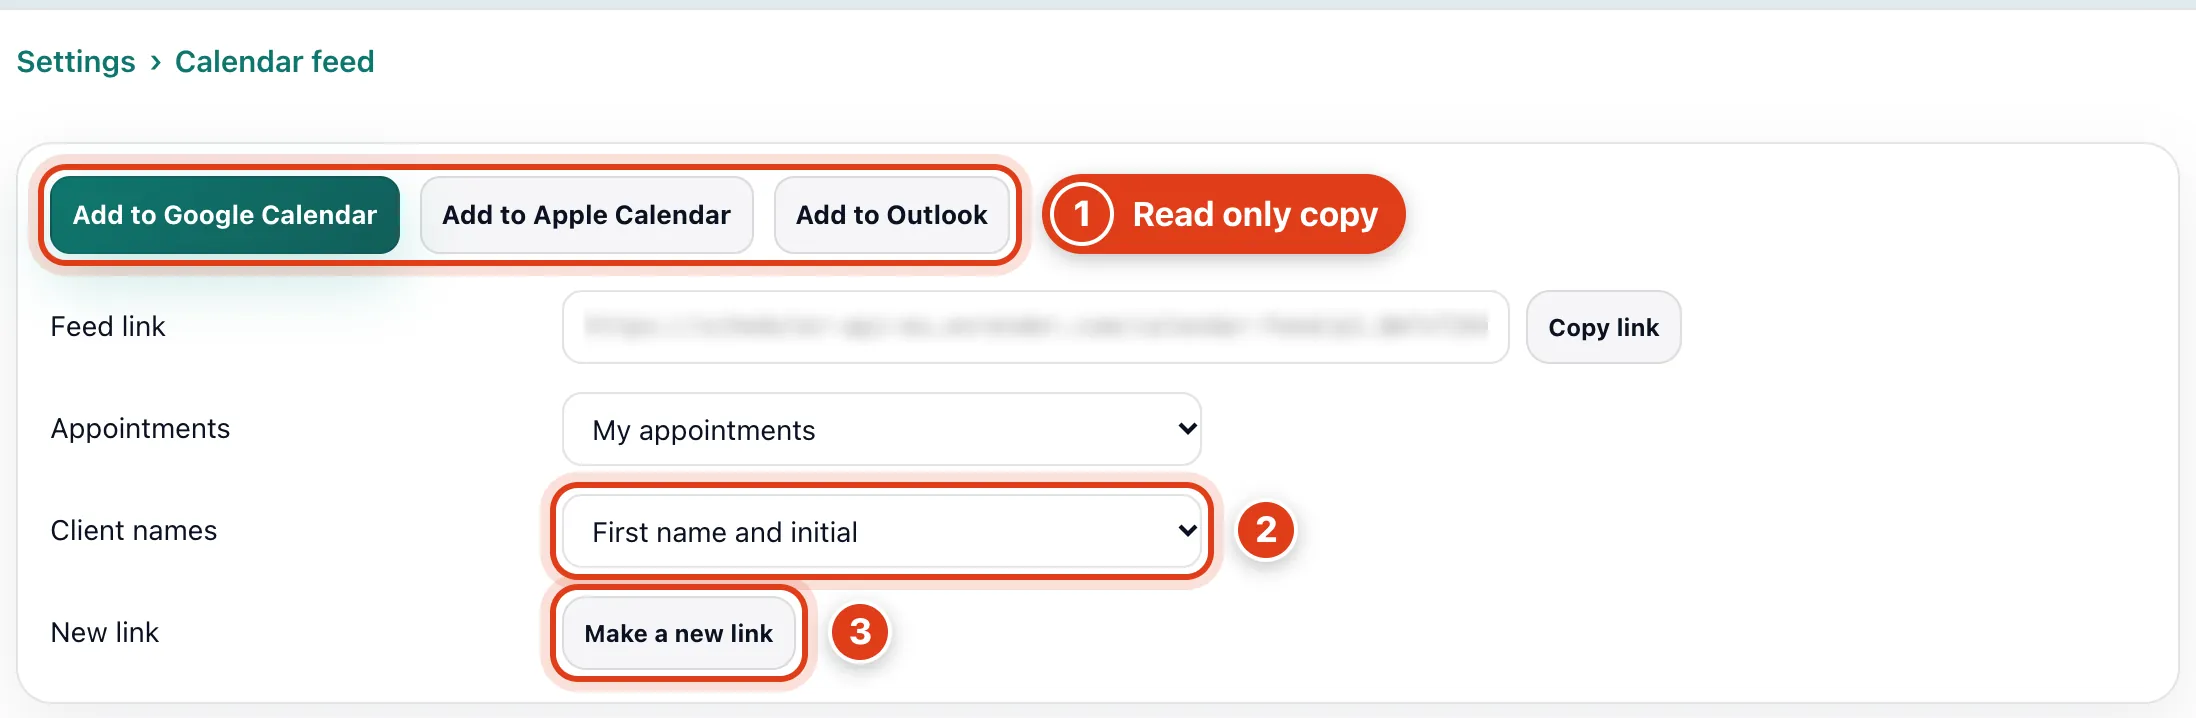
- Your calendar app gets each visit's time, service and place, from 90 days back to a year ahead: for example, on 16 November it holds 18 August to 16 November next year.
- Client names sets the name after the service: for example, First name and initial shows Routine foot care · Linda E.
- Make a new link stops the old link, so add the new one to your calendar app again.
Step 7 Share your calendar with someone
Go to Settings › Calendar sharing, click Share calendar, choose what they see in Visibility, then Share.
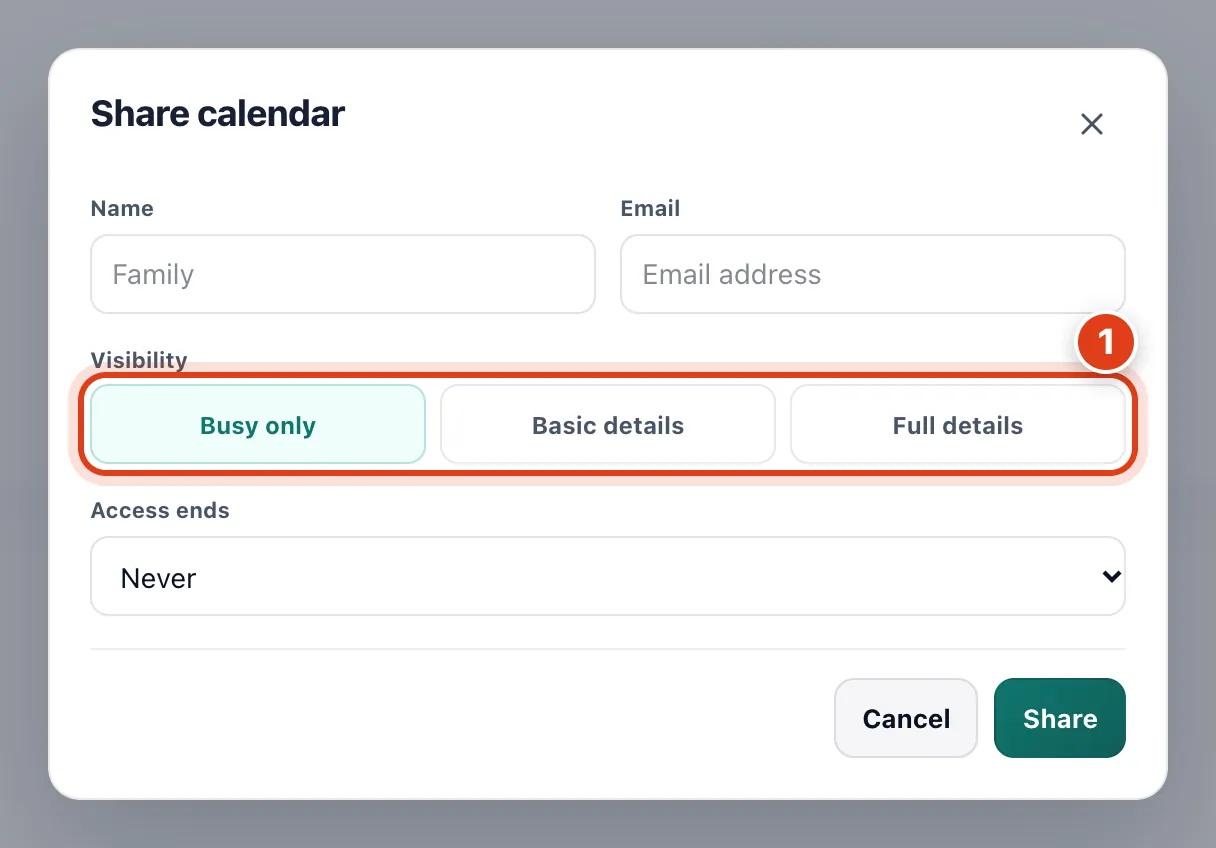
- Busy only shows each visit as Busy, Basic details adds the service and Full details the client's name and address: for example, Margaret Hughes's Monday visit shows as Busy, 09:00 to 10:00.