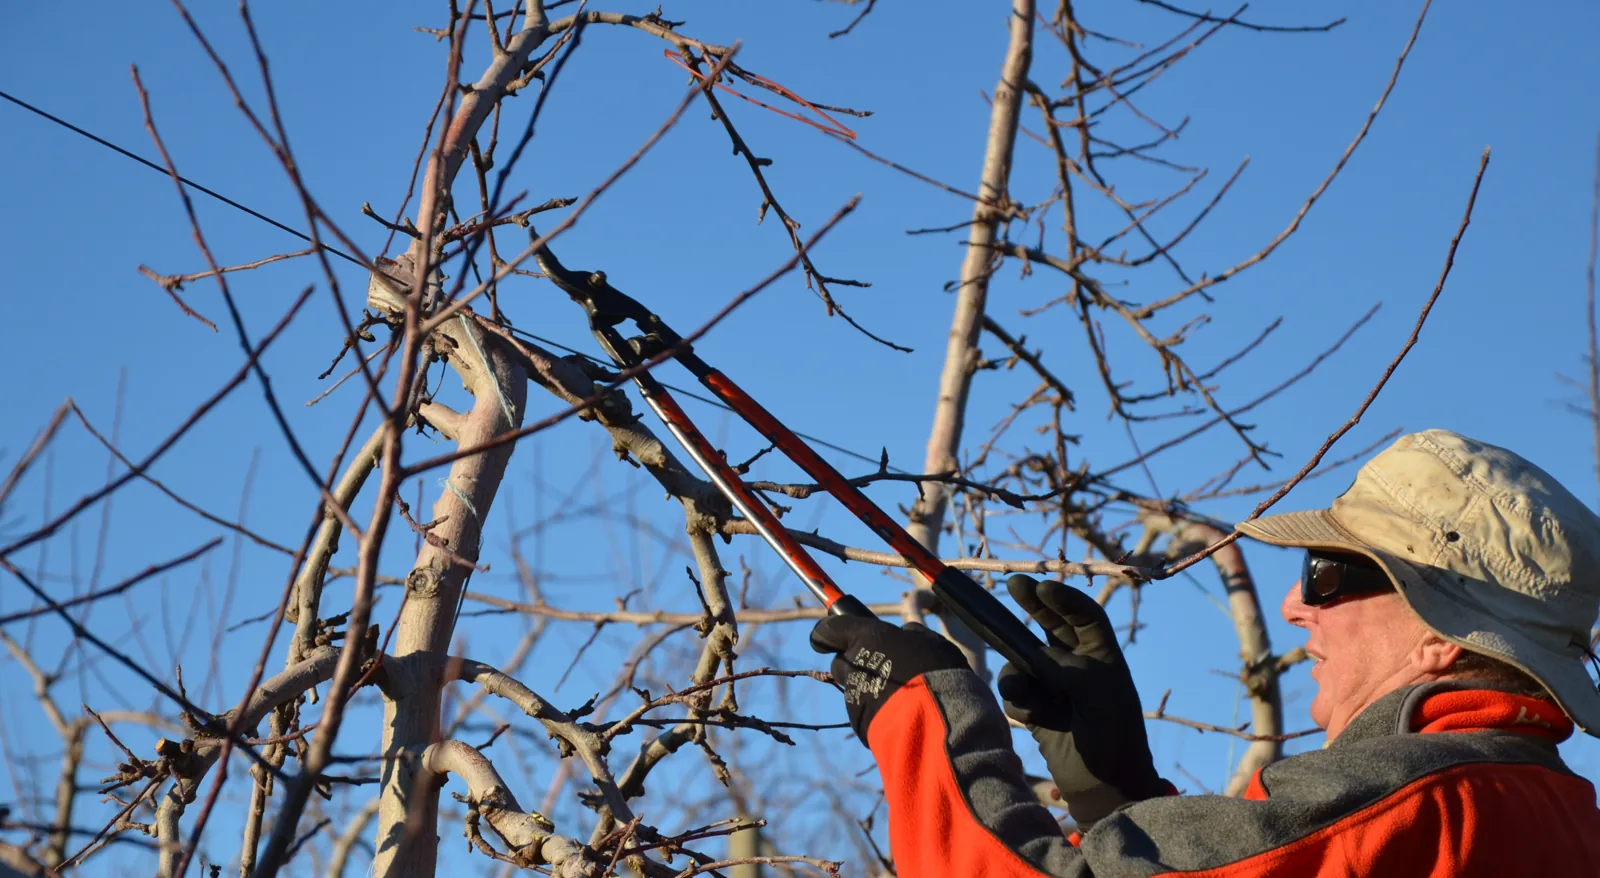
Photo licence: CC BY 2.0.
A request to “tidy the apple tree” can mean a few selective cuts or an attempt to rescue a tree that has outgrown its space. Those are different jobs. On a garden visit, establish the tree type, its condition and the customer’s aim before lifting the loppers. Agree what can be done well in this visit and what should wait or go to a specialist.
This is a practical scope and handover guide for gardeners working on an established, free standing apple tree. It is not a universal cutting recipe. Young trees, trained forms, neglected old trees and other fruit species need their own decisions.
Identify the tree before promising winter cuts
Start with what is actually growing in the garden. Is it an apple tree, and is it a free standing bush or standard rather than a trained espalier or cordon? RHS winter pruning advice is specifically for established free standing apple and pear trees. The Orchard Project separates winter pruning of pip fruit from the different timing commonly used for stone fruit. If the customer is pointing to a plum beside an apple, do not treat both as one winter job.
Ask what they want to change: access to fruit, a crowded crown, a branch over a path or simply an untidy appearance. Walk around the tree before judging it from one side. Note the space it has, where main limbs originate and whether earlier cuts have left dense upright regrowth. A customer may want the canopy cut in half, but that requested outcome is not automatically a sound scope for today. Explain what you can assess from the ground and what needs a closer, safer inspection.
Set a bounded pruning scope
Look first for dead, damaged or diseased material and branches that rub. RHS puts those removals at the start of its winter sequence, while Gardeners’ World similarly begins with dead, damaged and diseased branches. Next, decide which crossing or inward growing shoots are genuinely crowding the canopy. Do not remove every small inward twig merely to make a diagram perfect shape. Keep the tree’s existing structure and your customer’s goal in view.
For a mature tree, take a step back after each group of cuts. The Woodland Trust describes winter work as opening the tree while keeping its basic structure. A branch that looks removable from one angle may fill an important gap from another. Mark or explain any substantial limb before cutting it. Agree whether the visit is routine maintenance or a staged restoration, especially when the tree has been neglected for years. The customer should hear the difference before the work changes the tree permanently.
Avoid an exact “one third of everything” rule. Guides discuss different reductions for different branches and tree ages; they do not authorise one blanket cut across every garden tree. If the work needs large limb removal, specialist equipment or knowledge beyond the agreed service, stop at the honest boundary and suggest an appropriate tree specialist. That is a better result than leaving a large wound or an unfinished canopy because the task was bigger than the booking.
Treat reach and working conditions as part of the decision
Check access around the trunk, overhead obstructions, footing and where branches will land. A lopper can make a reachable cut, but it should not turn an awkward high branch into a risky stretch. Garden Ninja distinguishes ordinary hand tools from the equipment needed when an old or overgrown tree requires larger work. The HSE asks for a sensible, proportionate approach to ladder work; if safe access is not available, revise the scope rather than improvising from a chair or overreaching.
Weather and tree condition can alter the visit too. If footing is poor or a branch cannot be assessed properly, explain the limitation and arrange another step. Keep the customer’s property, nearby planting and access route in the plan. A narrower finished job with a clear next action is more useful than a broad promise followed by unsafe, rushed cuts.
Make cuts with a reason, then inspect again
Work from the agreed priorities. Clear genuinely damaged growth, then tackle selected rubbing and congested branches. RHS recommends choosing the better placed outward facing shoot when crossing branches rub. Gardeners’ World illustrates cutting back to a healthy bud or removing a damaged branch at its base. Read the exact guidance for the branch size and tree form you have, and use sharp, suitable tools. Do not make a large cut merely because it makes the tree look symmetrical from the path.
After a short run of work, stand back and inspect the crown again. Can light and air reach through without stripping a whole side? Have you preserved useful fruiting wood? The Orchard Project stresses understanding the tree’s form and the grower’s priorities, which is a useful check against automatic cutting. Note any weak, inaccessible or uncertain limb that you deliberately left. It can be addressed later with the right assessment rather than quietly disappearing from the handover.
Explain the result and the remaining work
A clear handover says what you removed, what you left and why. A hypothetical example: “I removed two rubbing shoots and one broken branch, then left the high limb over the shed because it needs safe access beyond today’s visit.” This is an illustration, not a real customer account. Show the customer the tree from the angle where the changes are visible, and explain any staged follow up without promising a particular crop.
Keep a concise visit note: tree type and form, customer goal, cuts completed, access or condition limits, and the agreed next step. If the tree is a trained form, a young planting or a different fruit species, record that the general winter apple tree scope did not apply. Garden Ninja’s free standing versus trained tree distinction is a useful reminder that “apple tree” alone is not a complete work instruction. A future visit should start from the actual decision, not the original vague request to tidy it.